Kitchen Cabinetry
Role: Design + Build + Install
Stage: Finished
Year: 2026
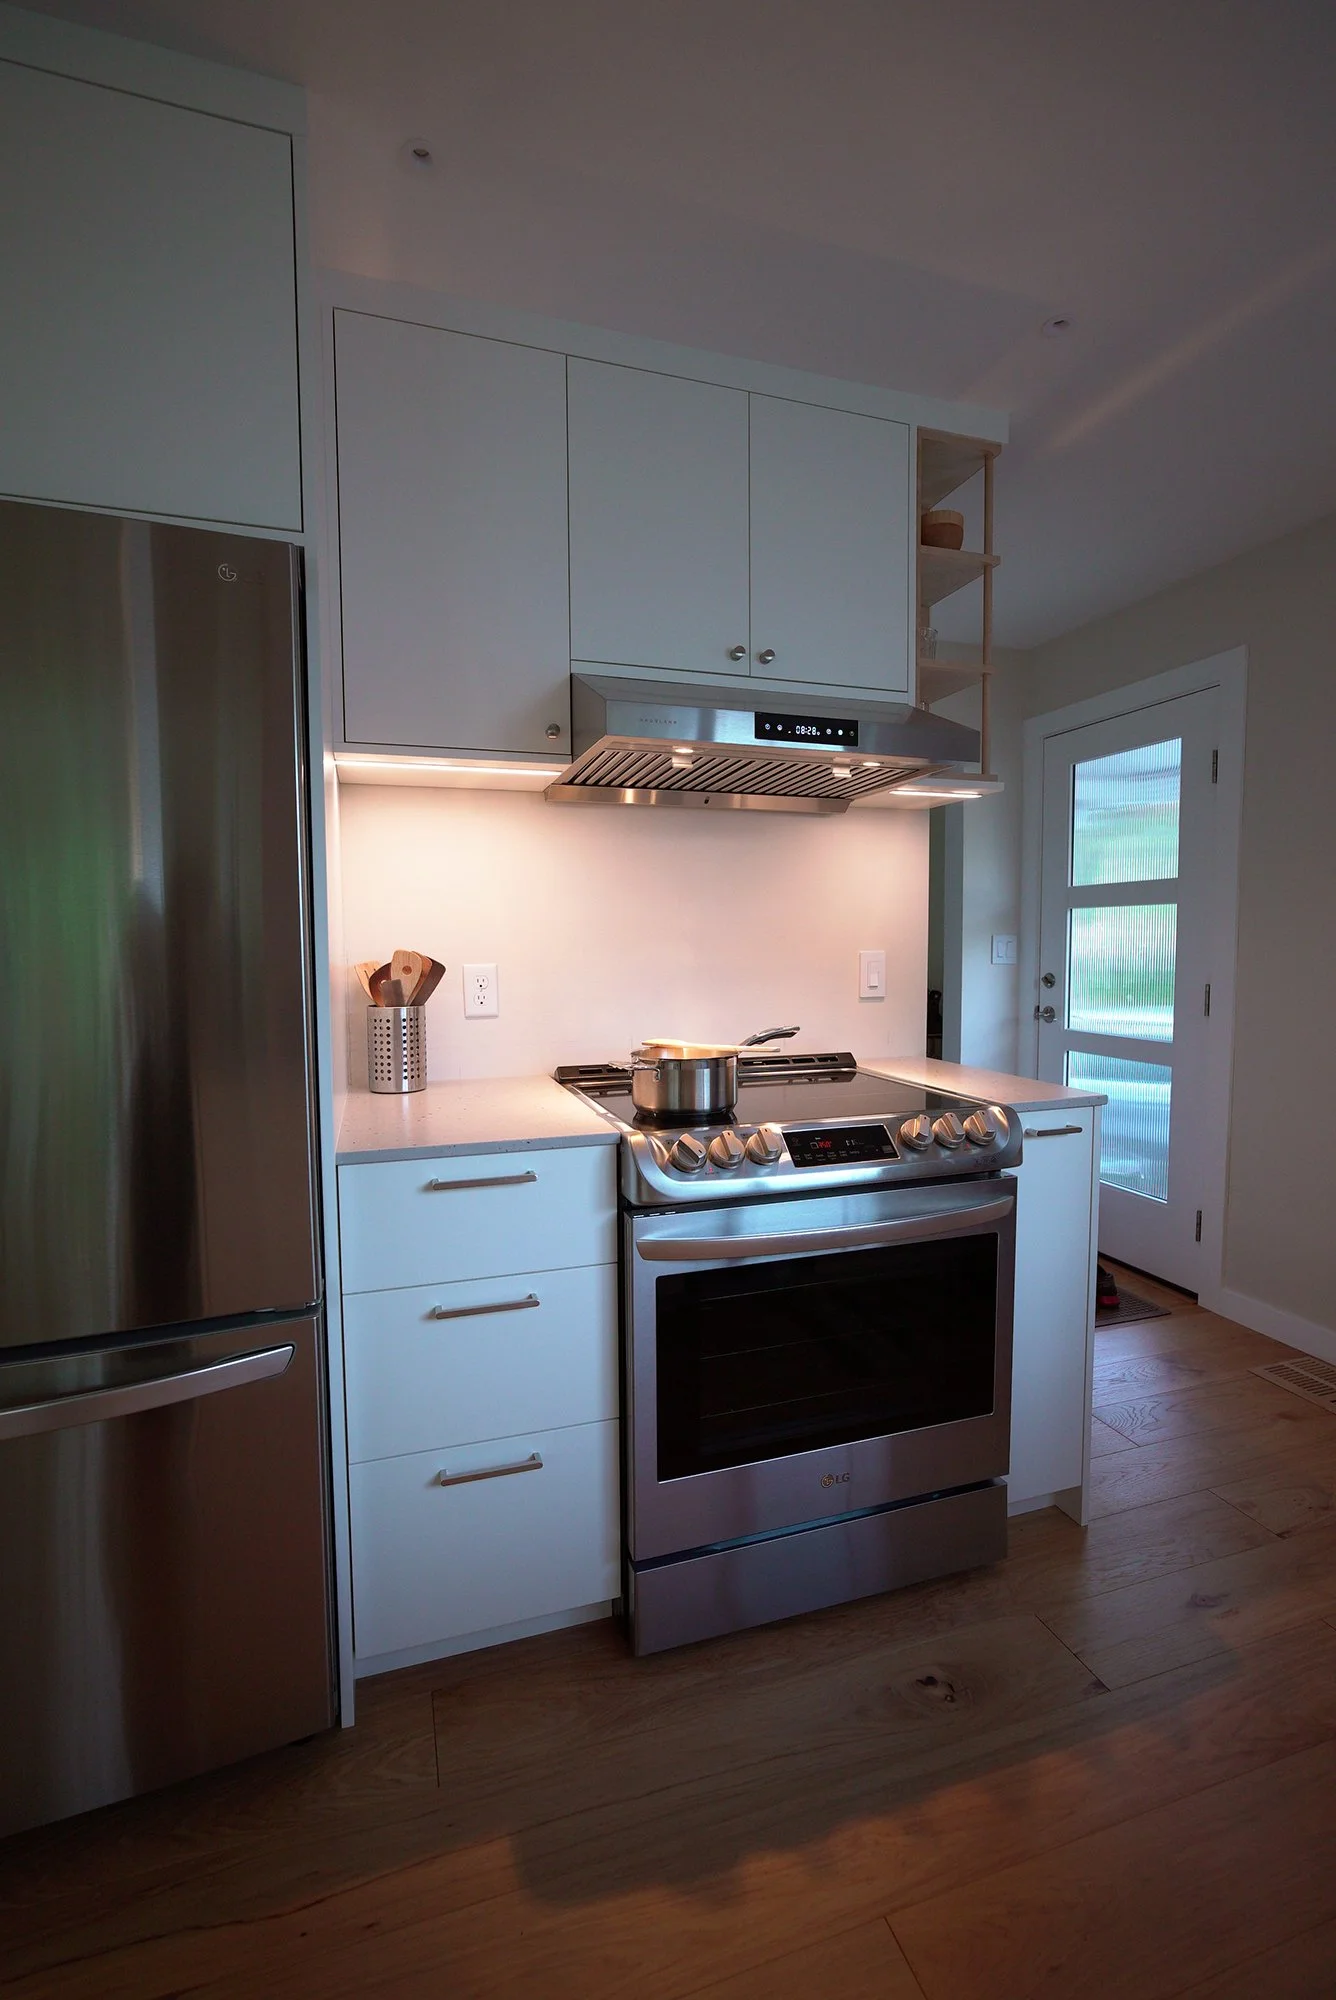
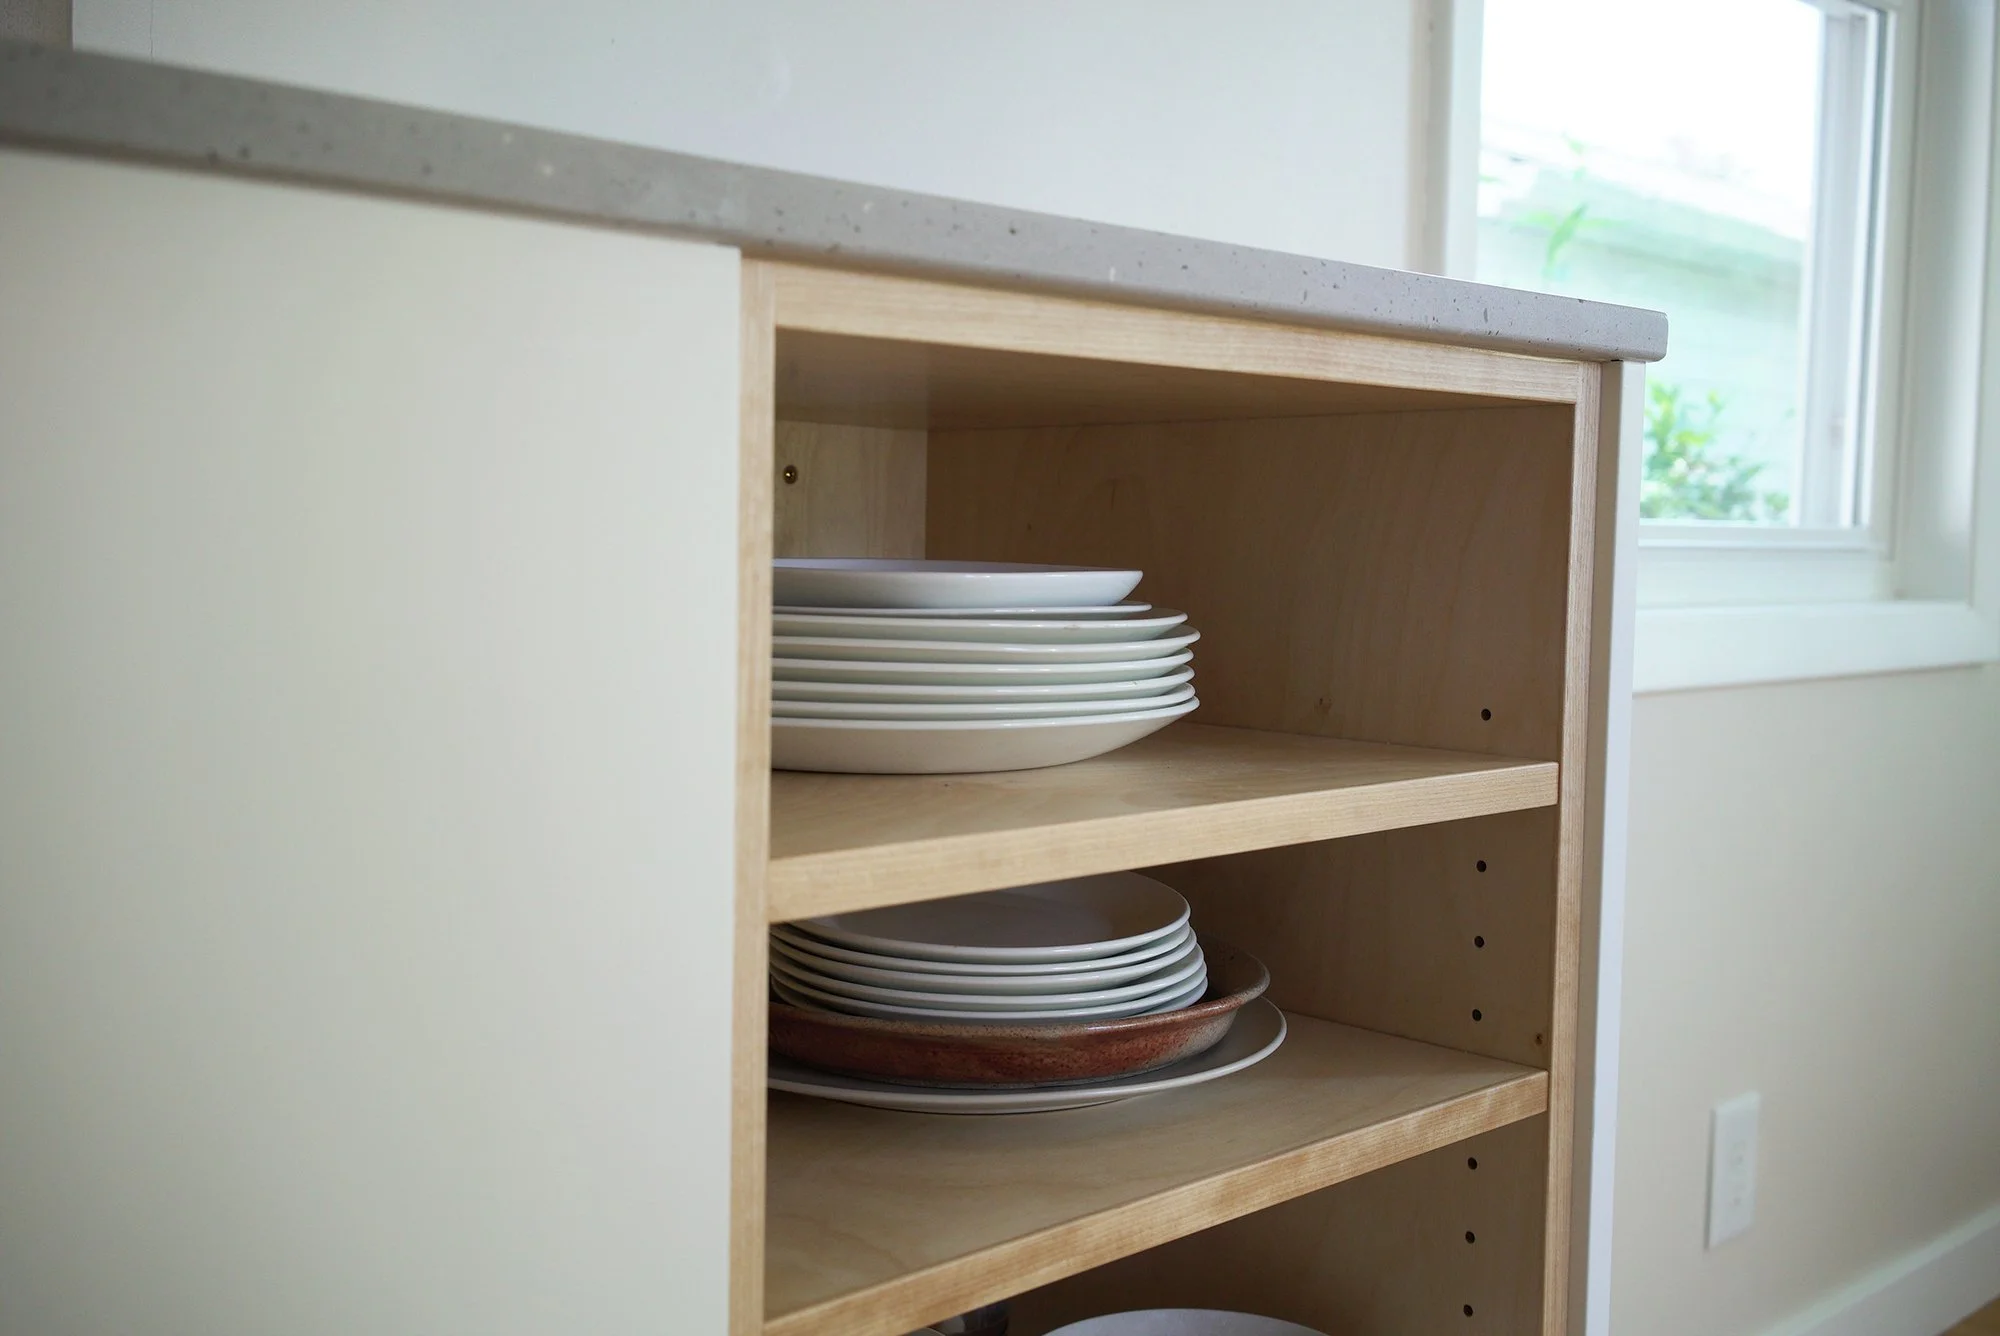
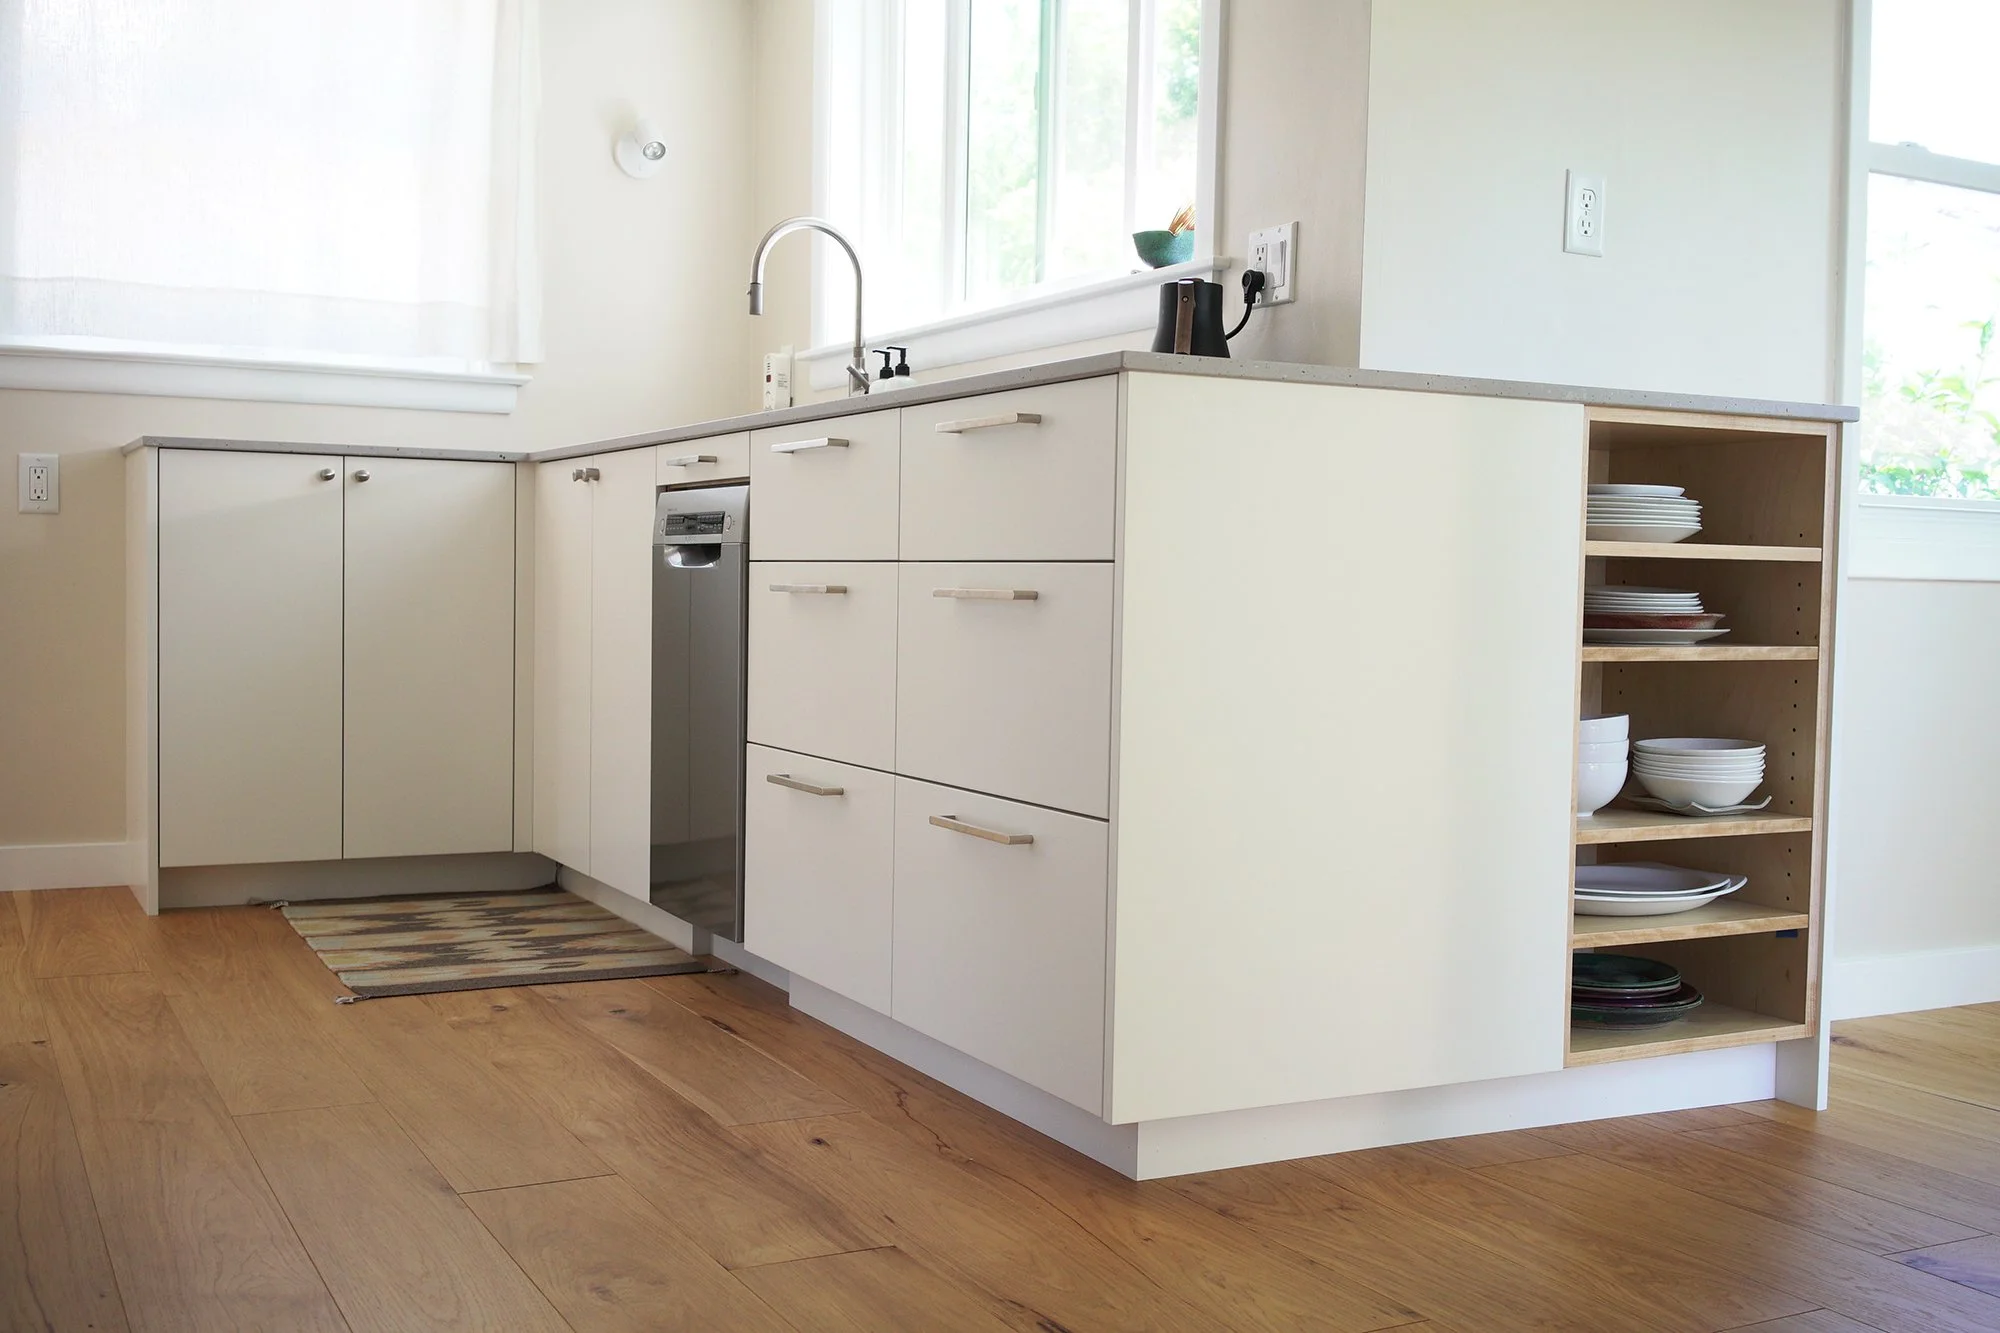
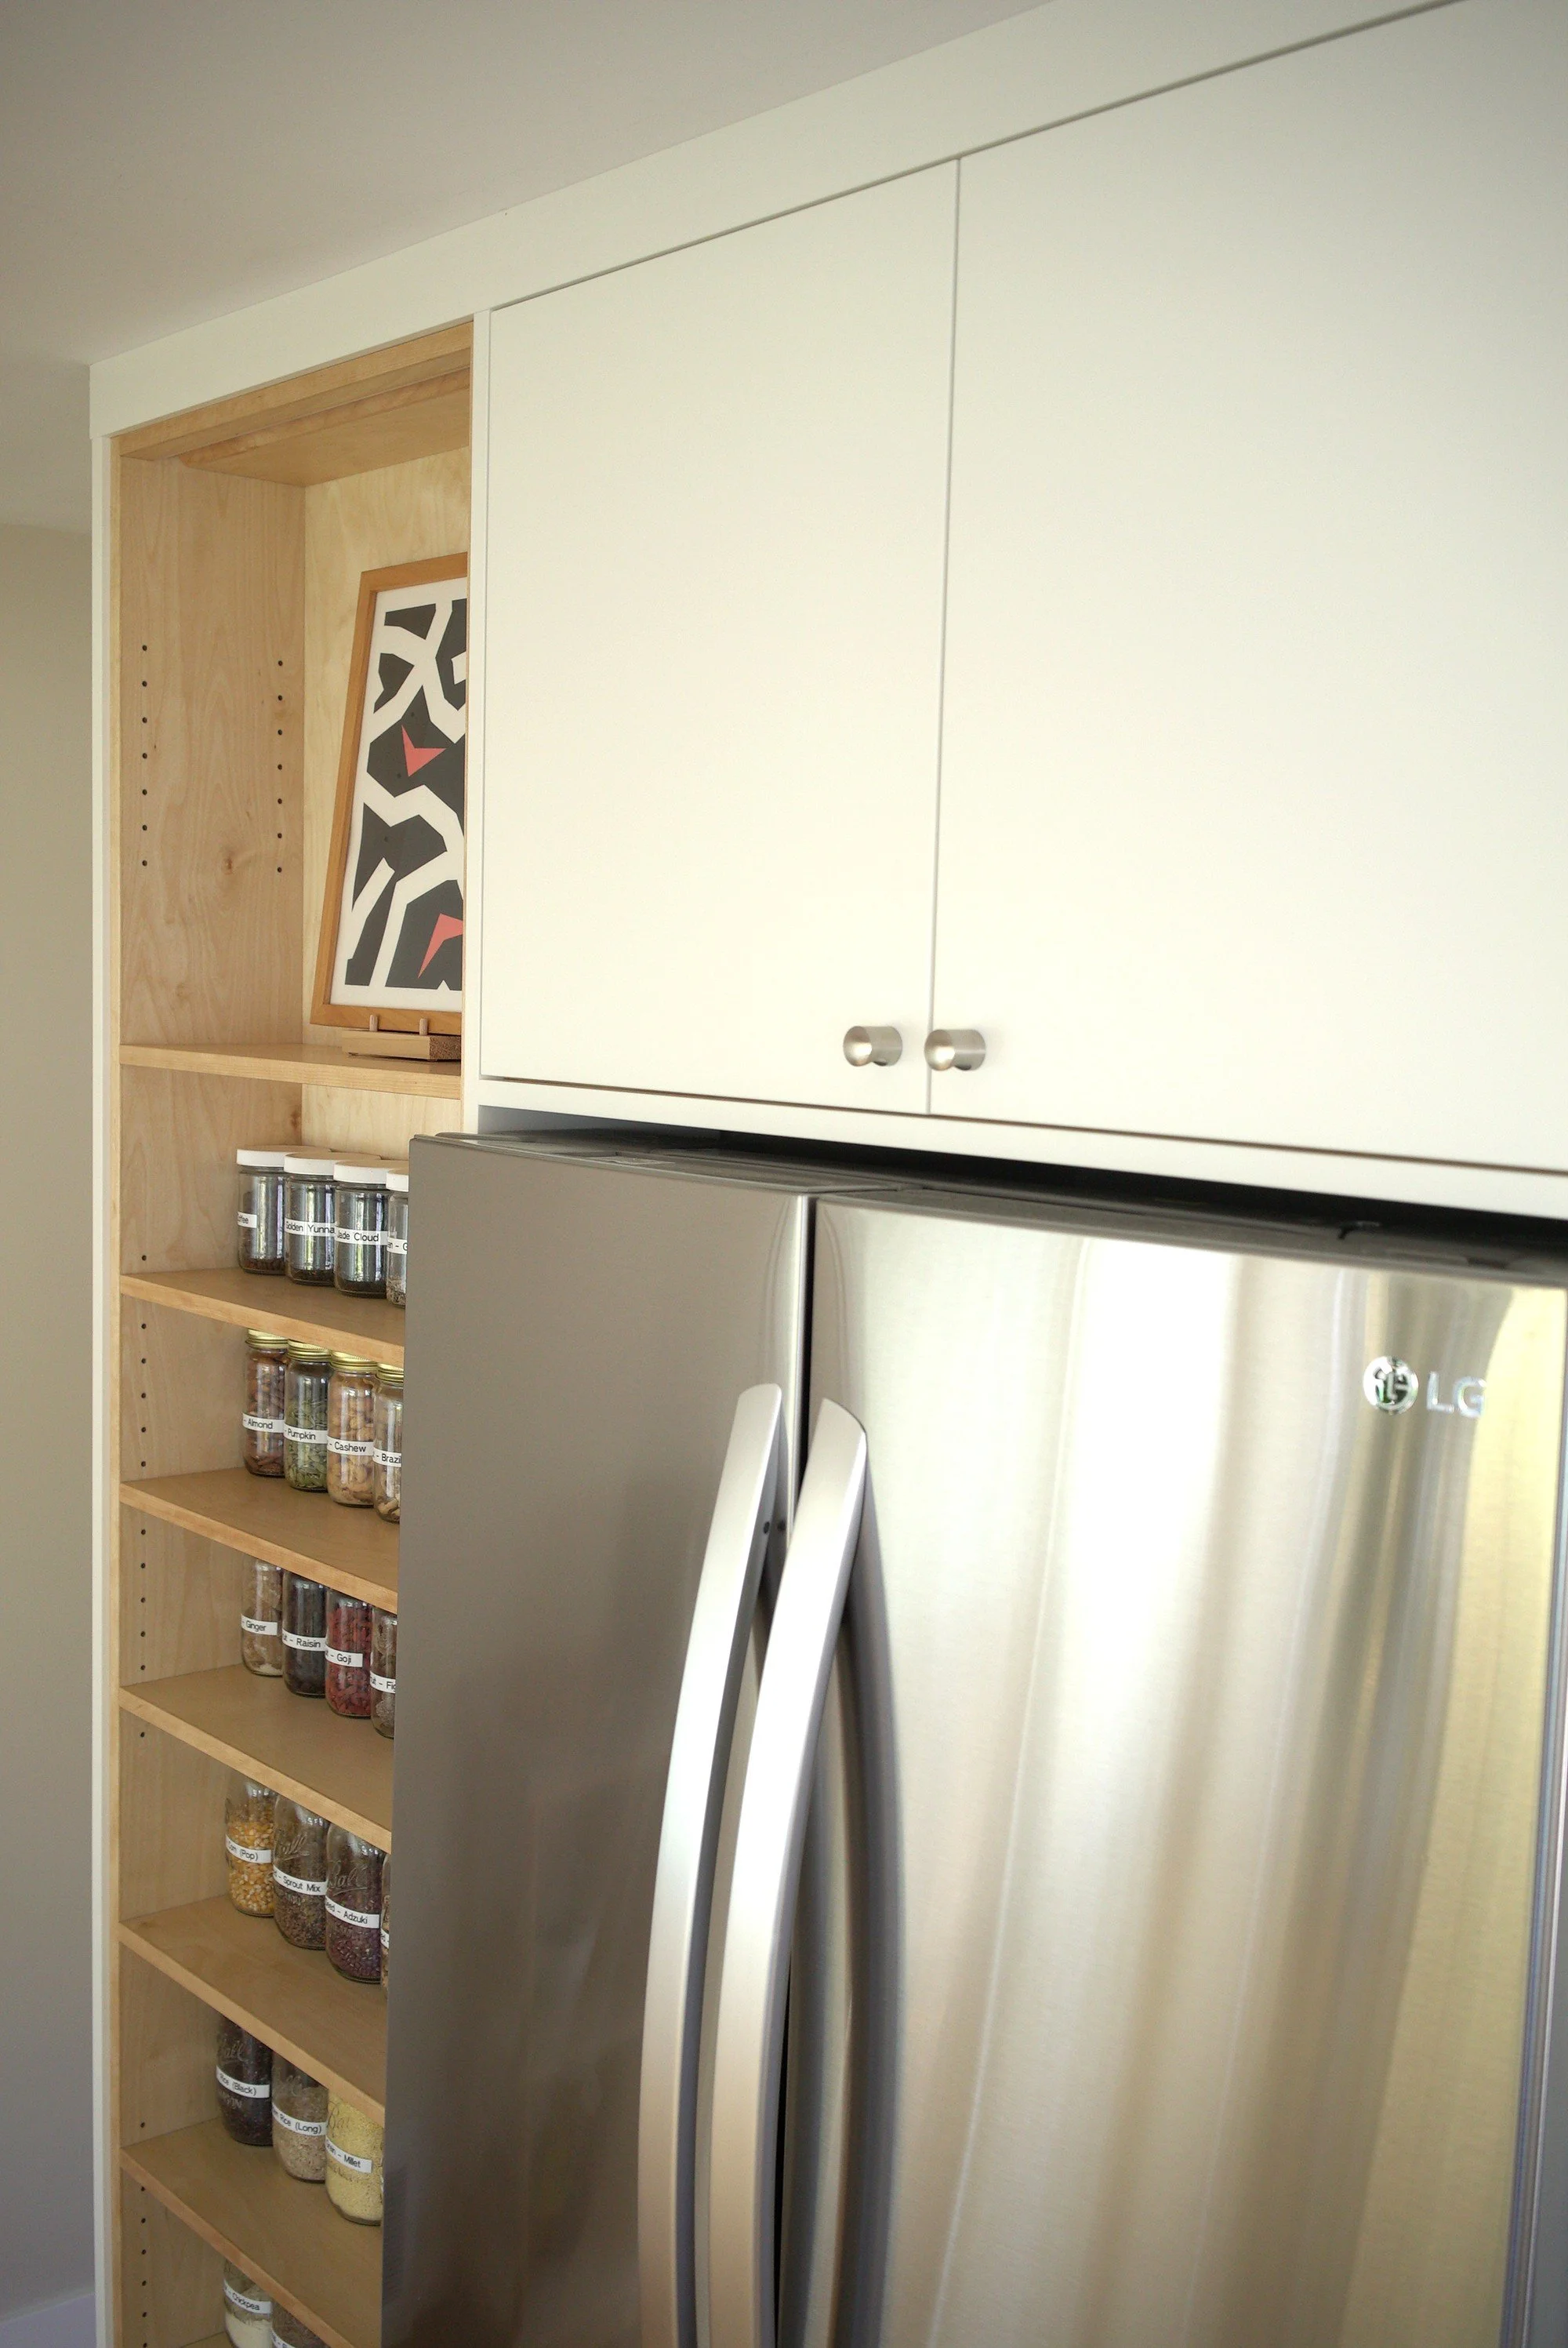
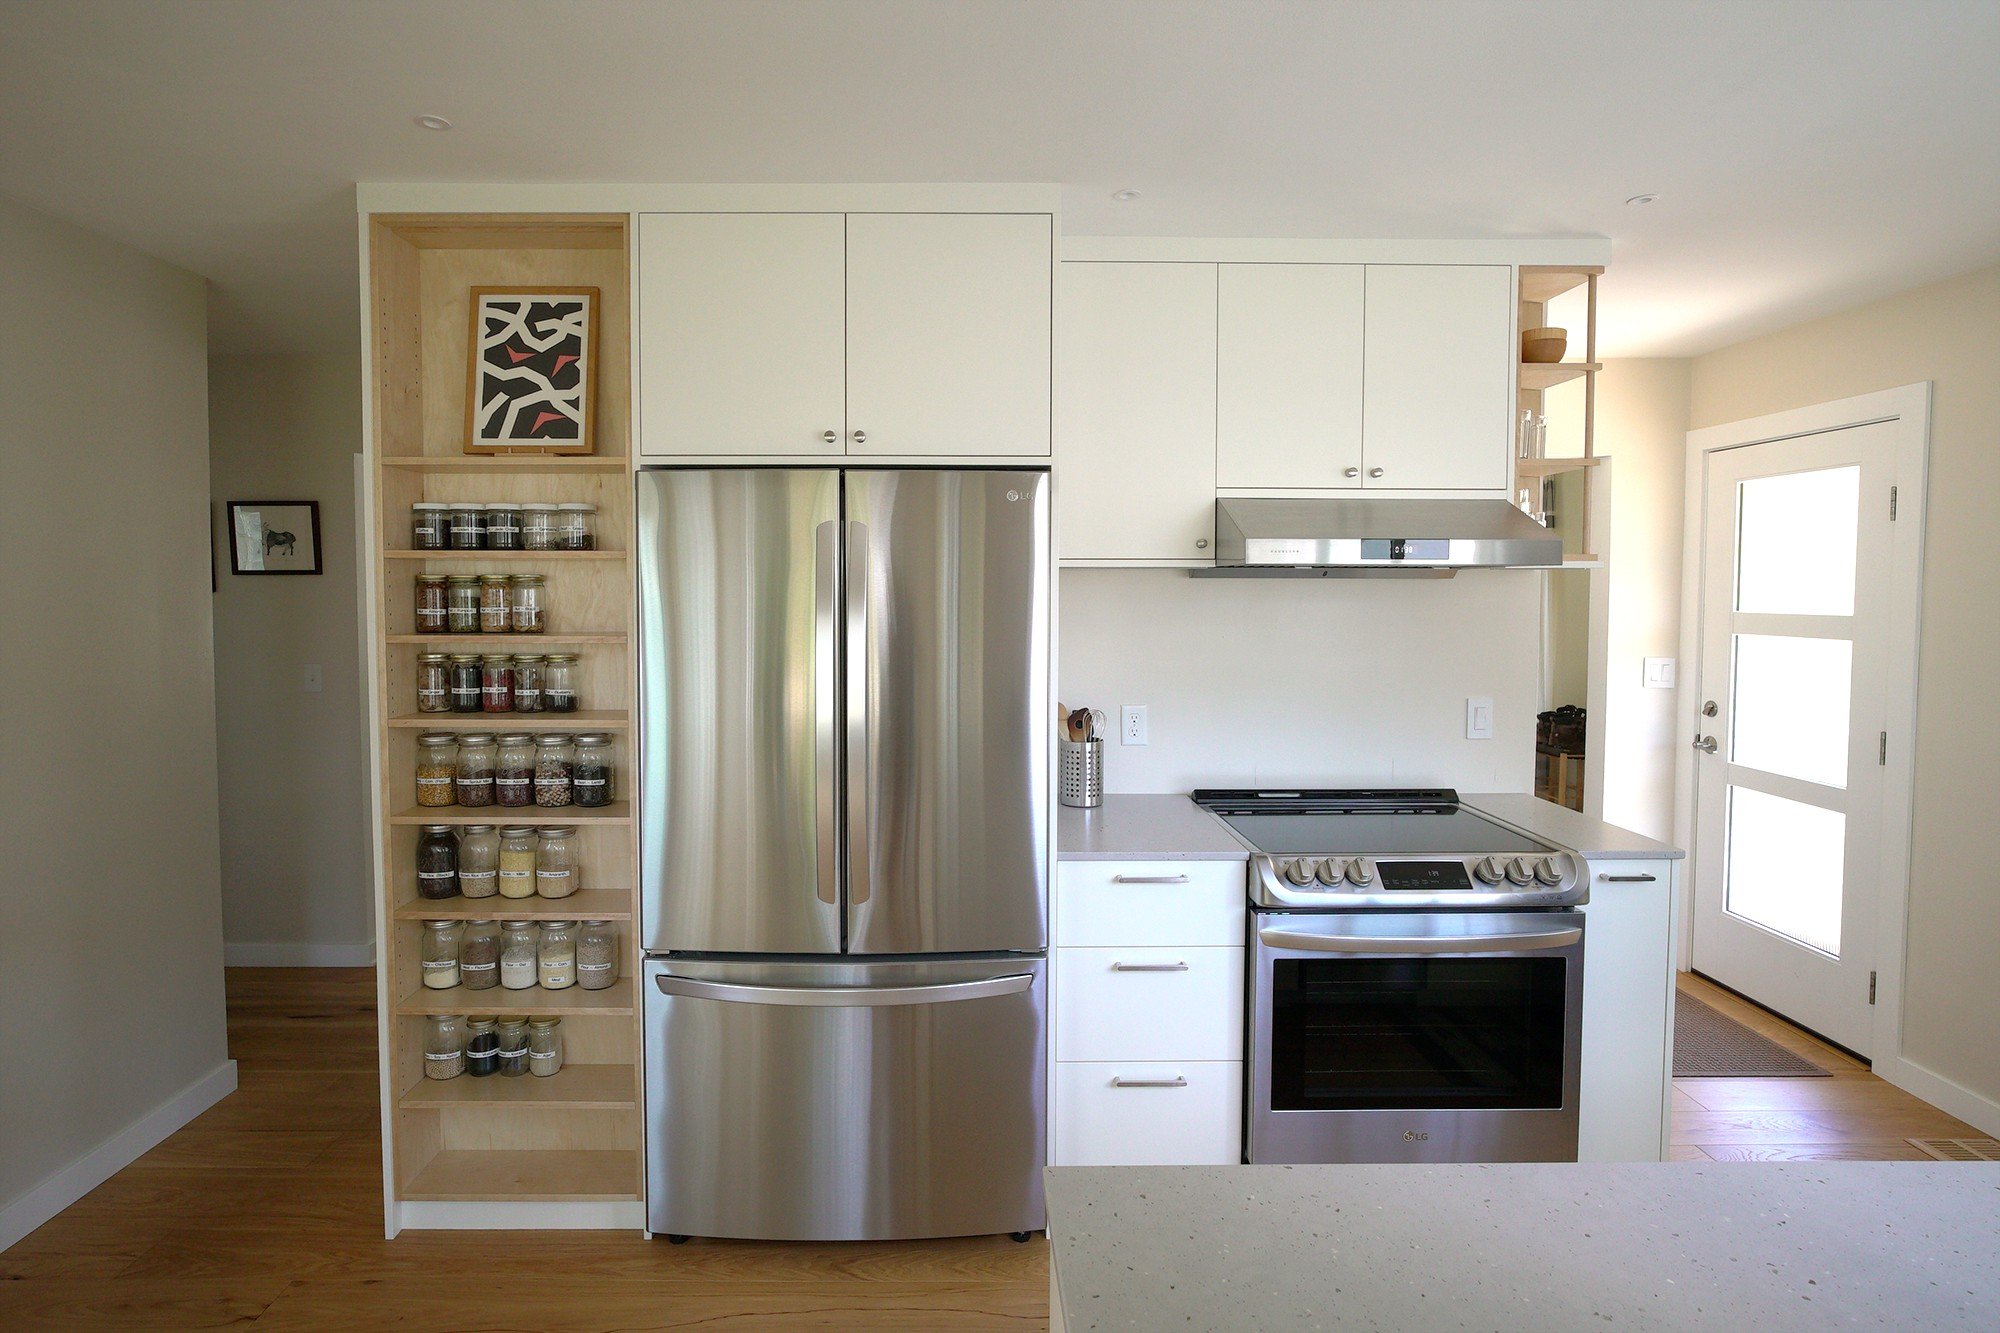
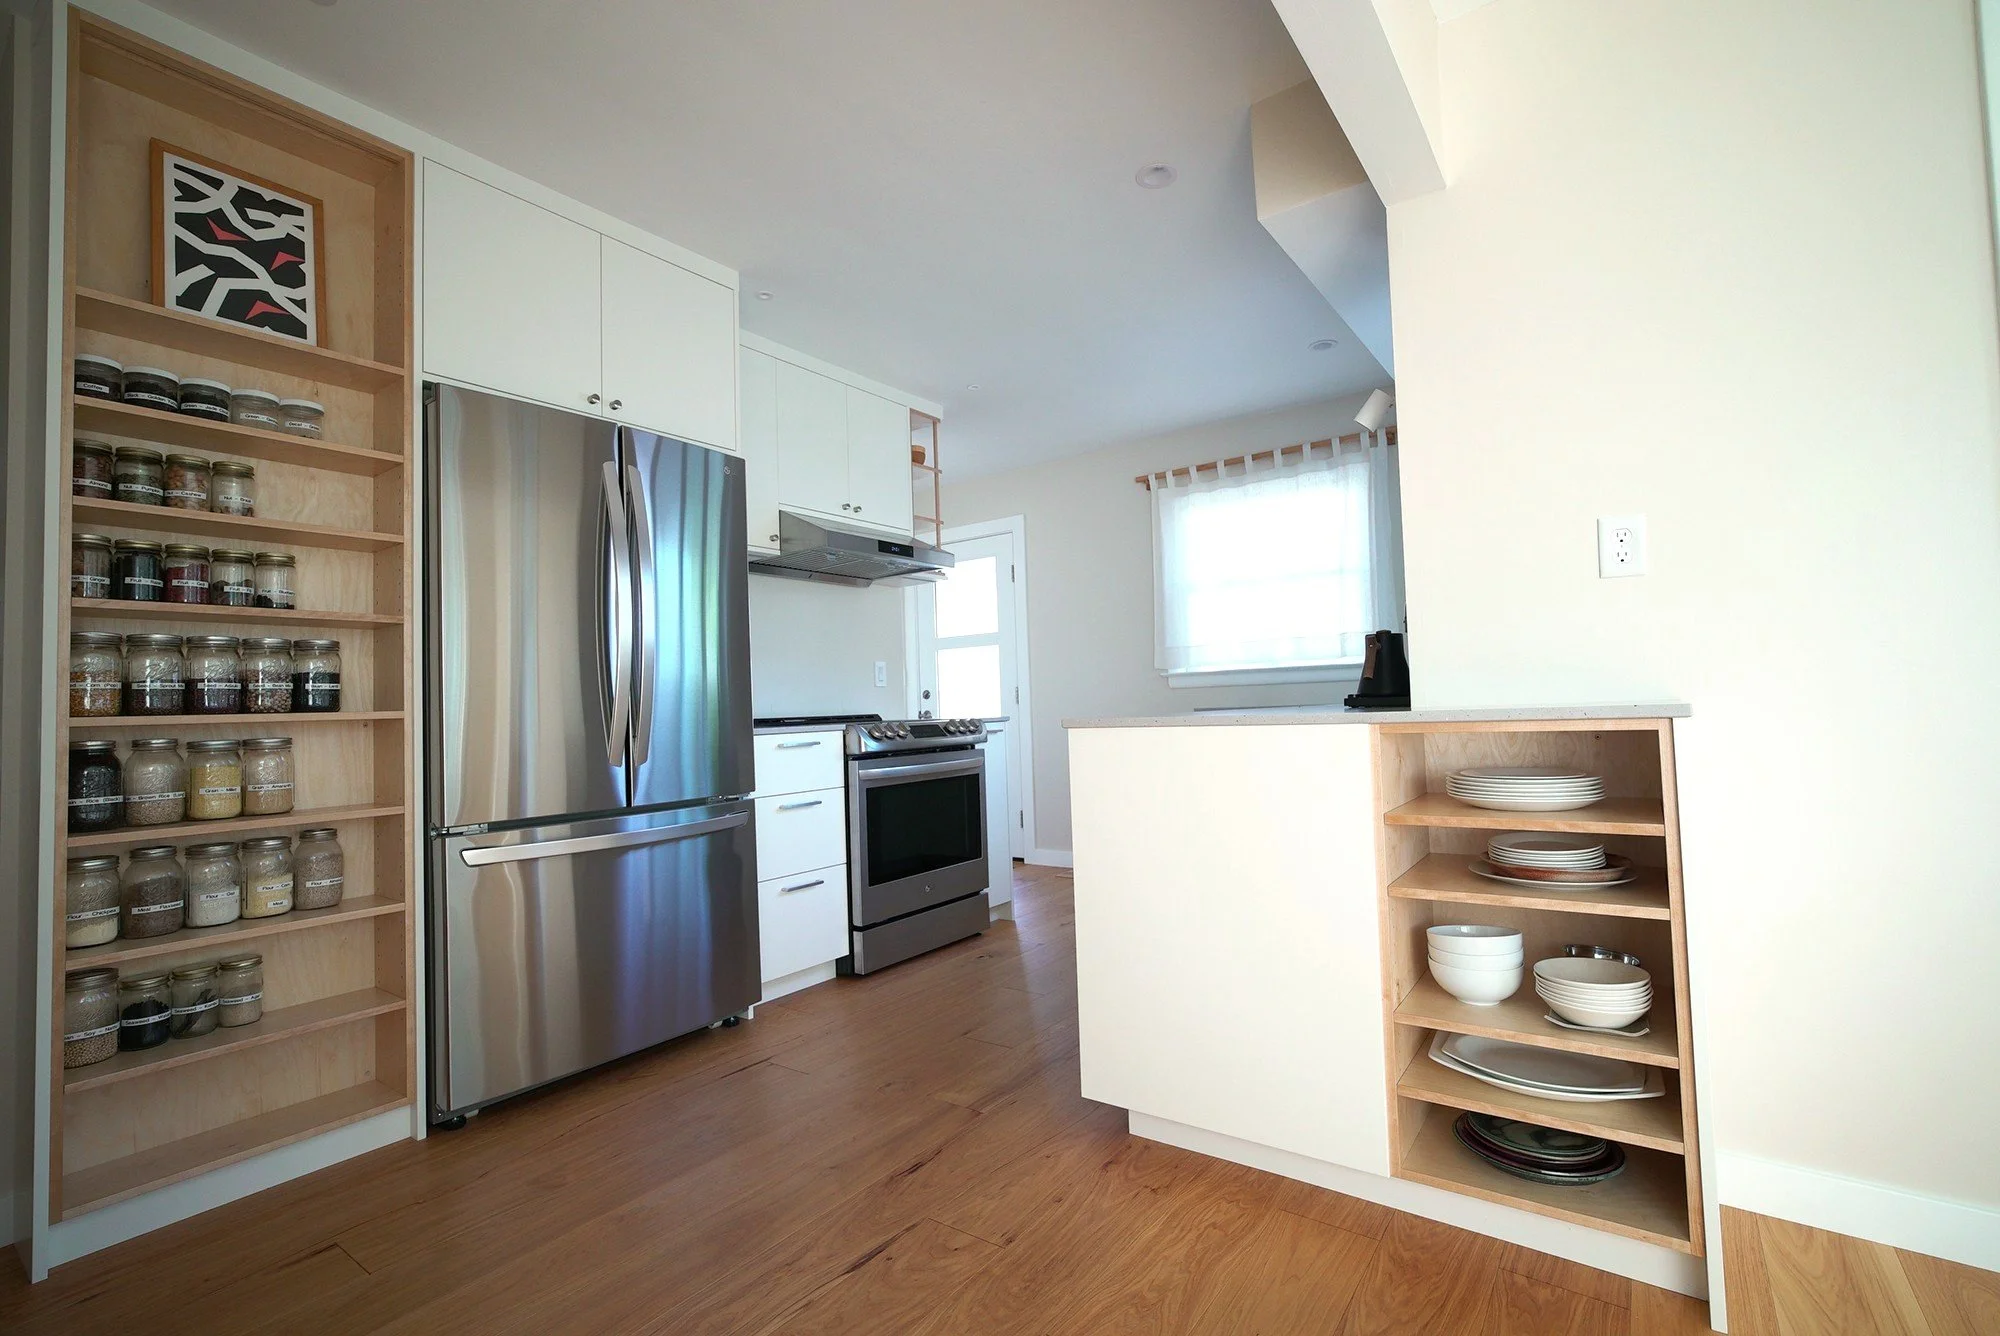
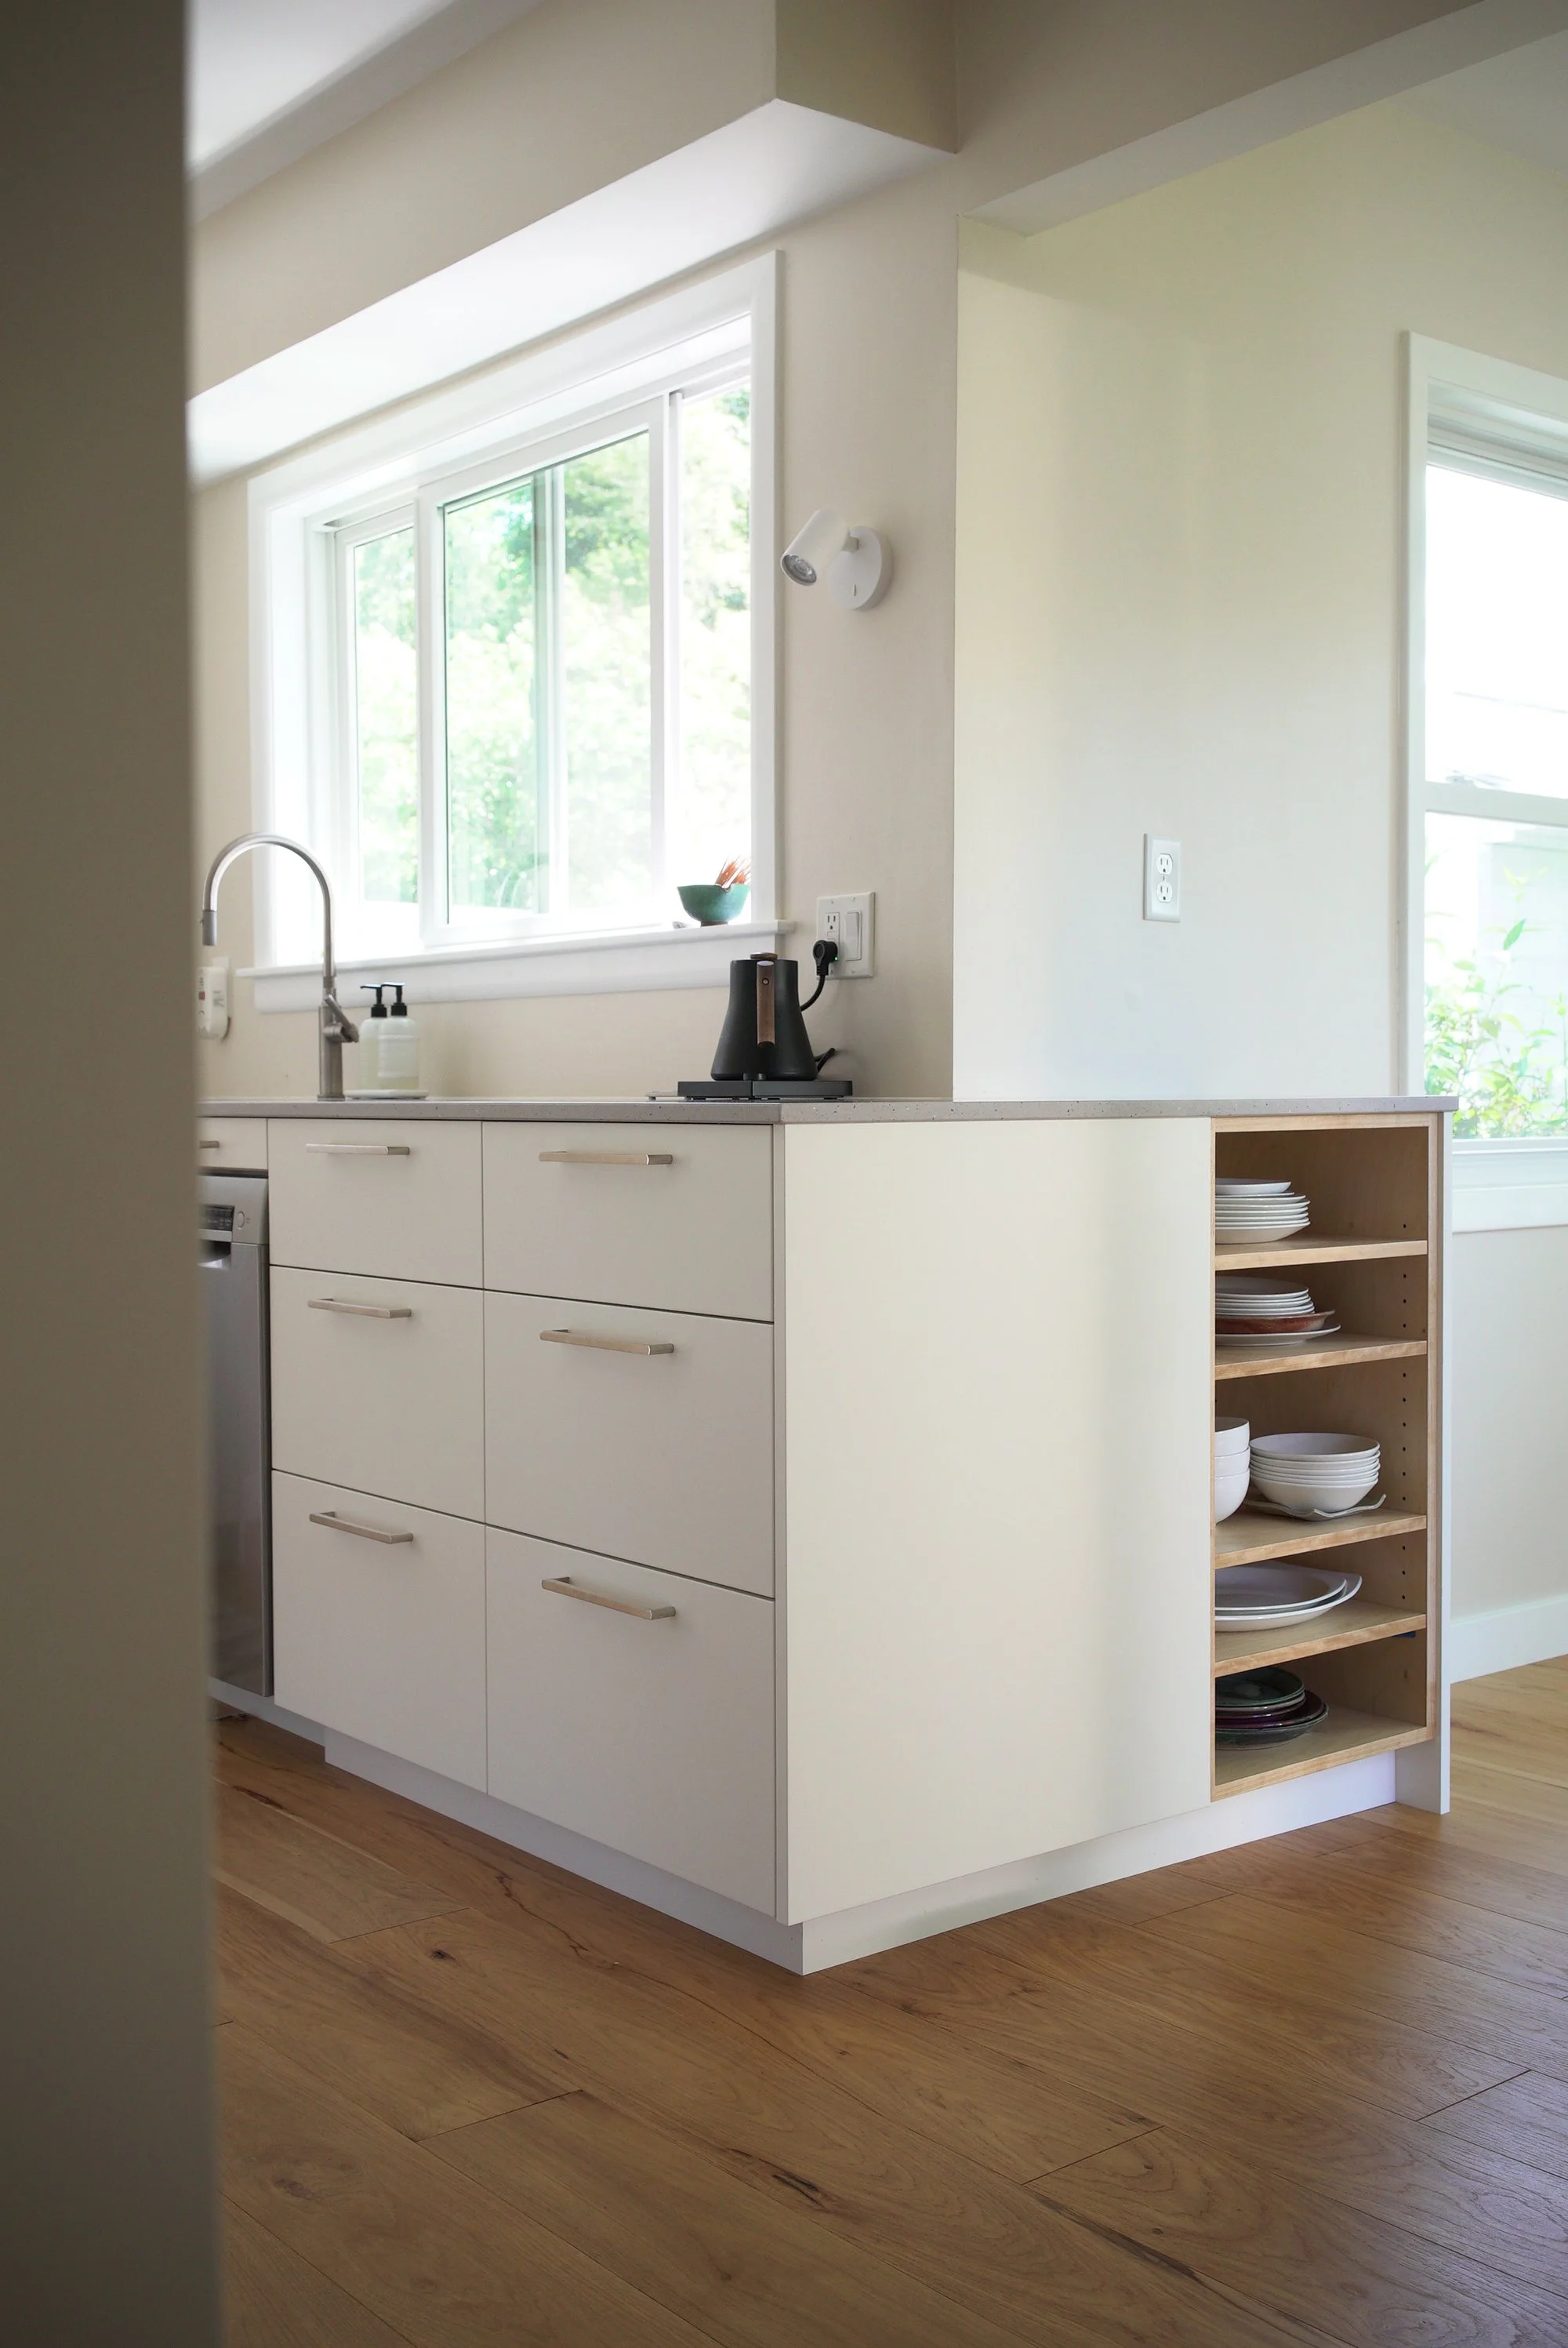
A fully-custom kitchen renovation. The worn and outdated 50’s style cabinets were replaced with twelve (12) frameless-cabinets made from Baltic birch with personally-milled 1/8” birch edge-banding. The cabinets were finished with a UV curable sealer and clear coat from Clean Armor. The doors, drawer fronts, fillers and panels were made from of maple with 1/8” maple edge-banding and were painted by Shelly’s Kitchen & Designs.
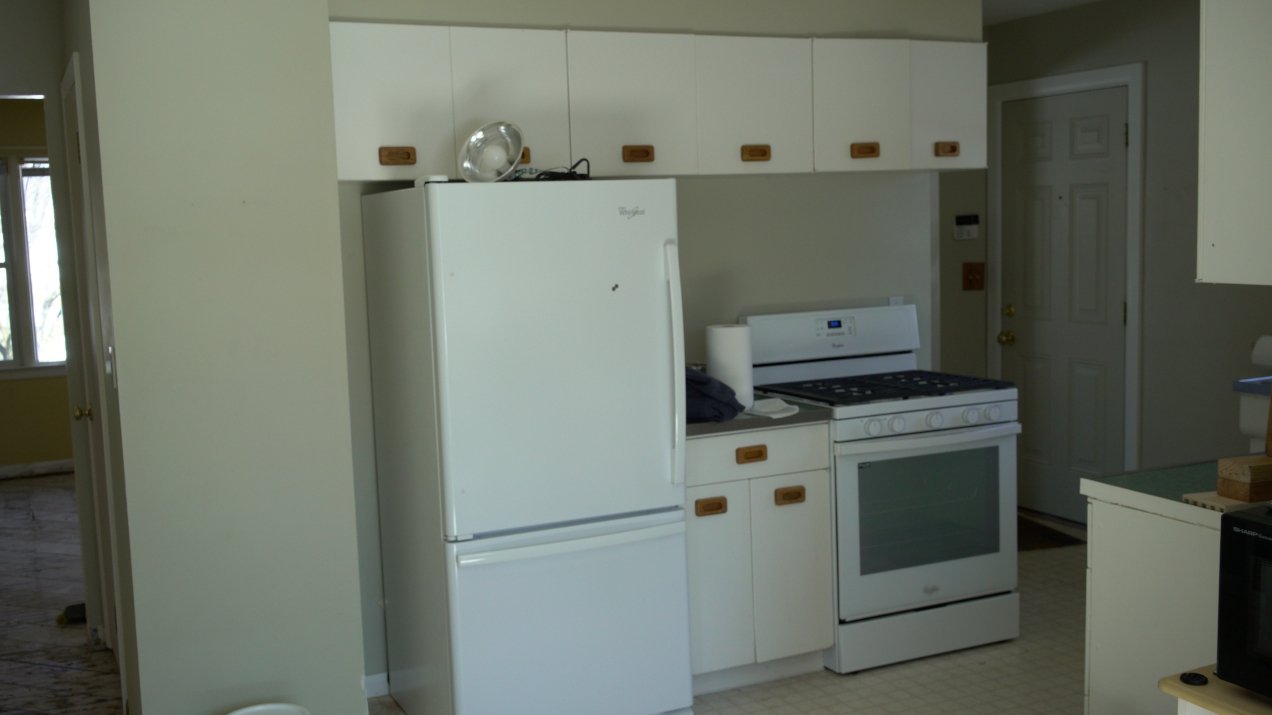
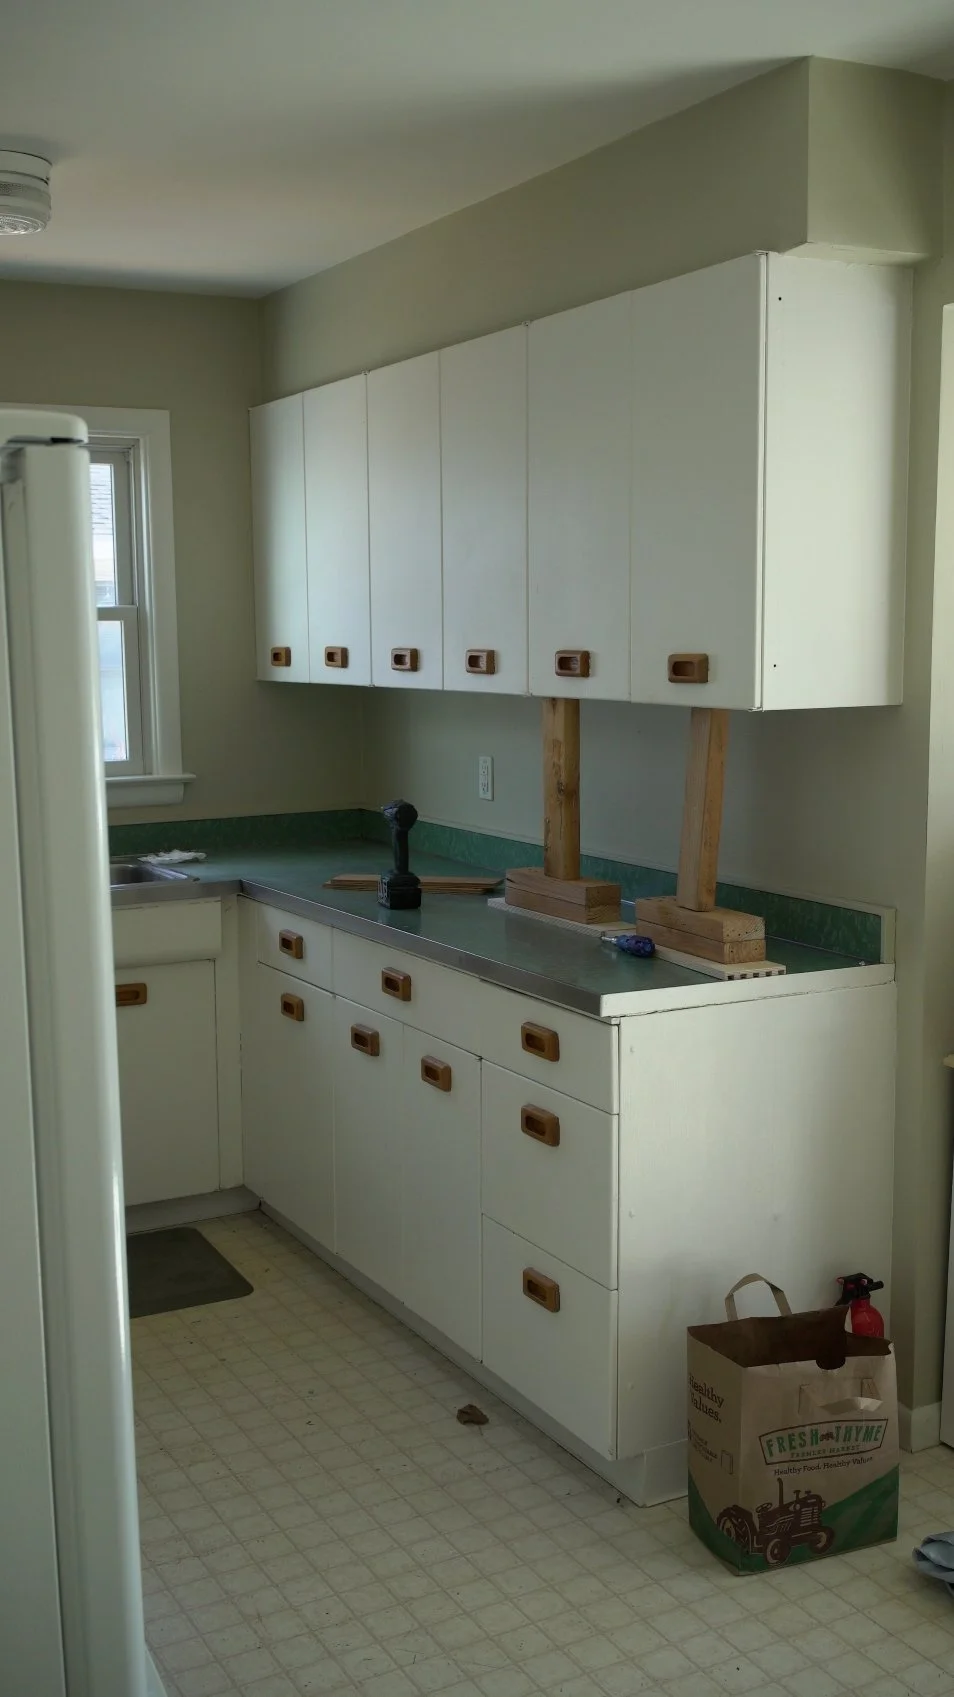
Before
Before
Designing a better kitchen
After working in the cabinetry industry for several years, I was able to apply everything I’ve learned — from design to build to install — to our kitchen. I wanted to share some thoughts on some under-discussed aspects to consider before a remodel. The list below is by no means exhaustive, but you might find it helpful.
Take the time to sit with the details.
A kitchen remodel is a large investment – money, time, energy, inconvenience – so it’s only natural to want to finish it as soon as possible. But it’s important to consider and feel good about all the details, even the very small ones. This is because when the time comes to actually use the kitchen, all those once-abstract details will become your lived experience. The things that seemed so small on paper might become what drives you bonkers (technical term) when using the space several times a day, or hundreds of times per year.
Minimize planes for a cleaner look.
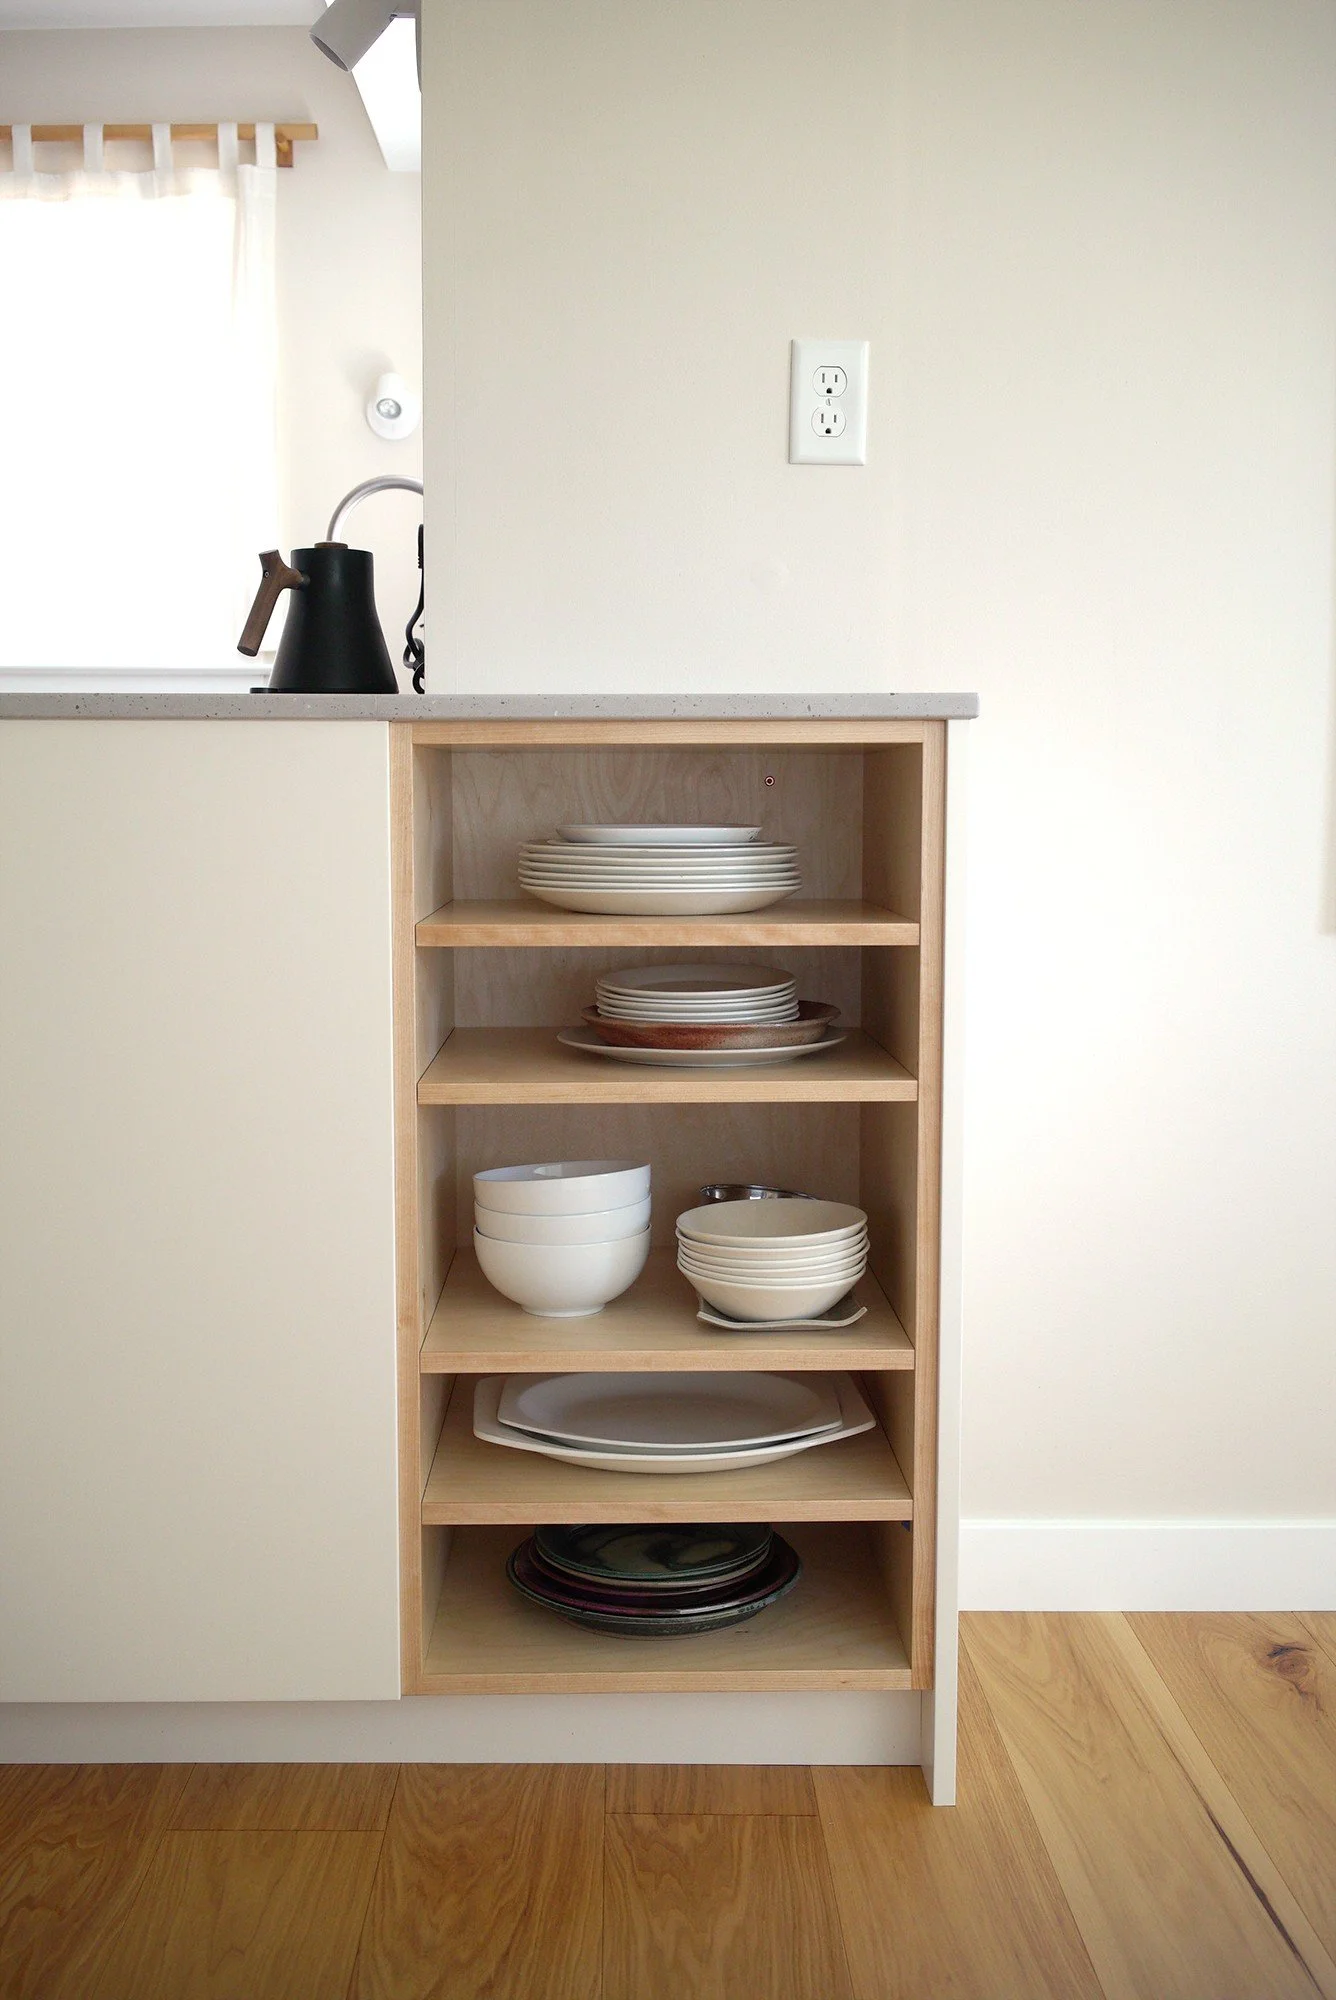
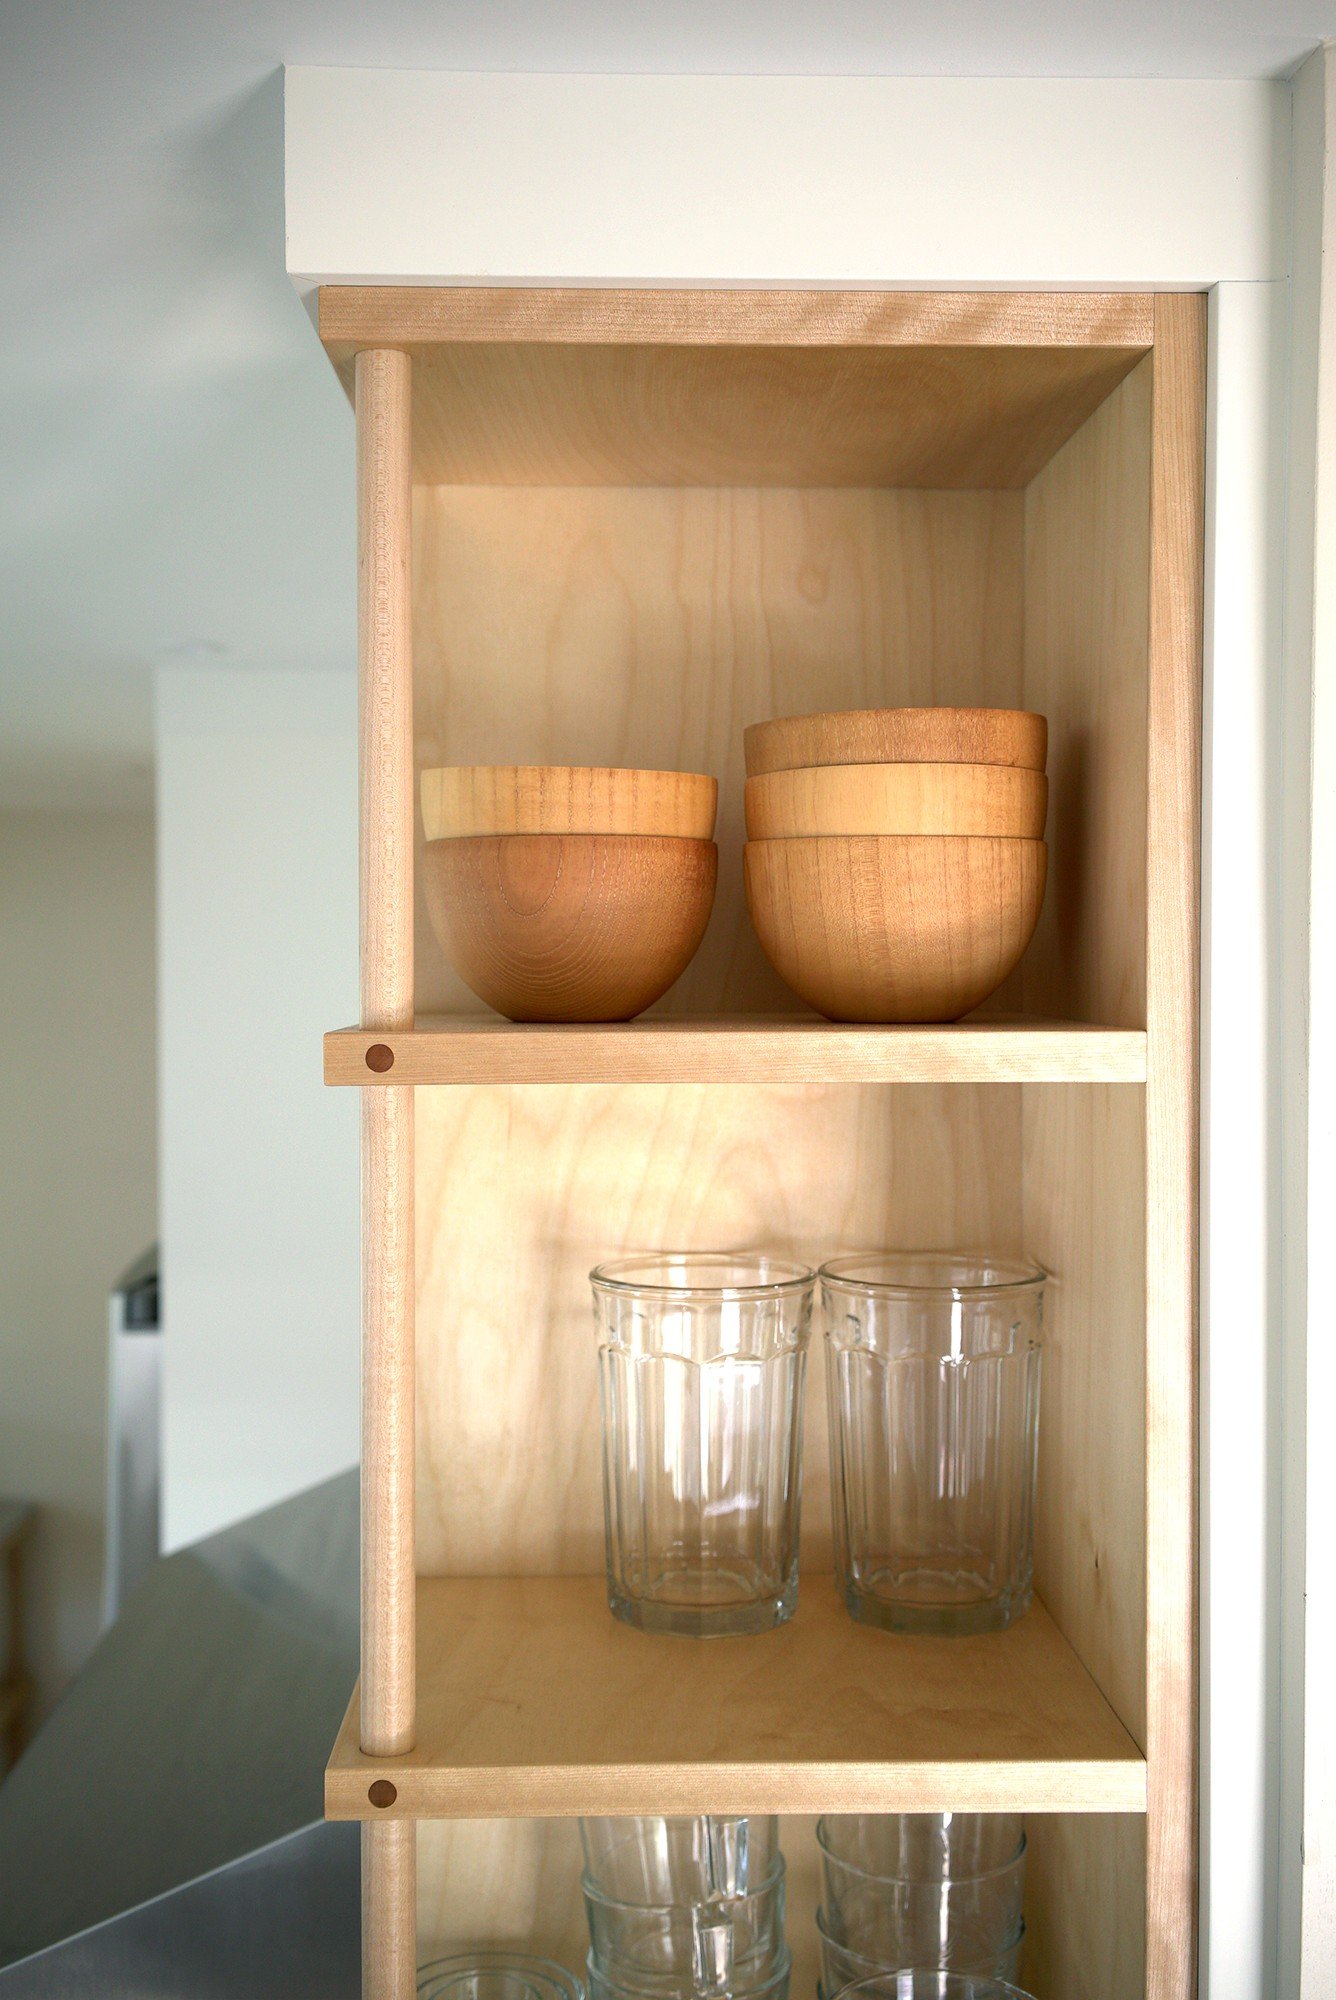
Cabinetry is, essentially, a large piece of furniture. I approach cabinet design by considering how to introduce the fewest number of horizontal and vertical lines. For instance in the photo to the right, the fixed (top) shelf in the open cabinet is in-line with the (white) refrigerator rail. I’ve found when there are too many planes (i.e. changes in levels) the final thought can come across jumbled.
Mix cabinet materials, but not too many.
Adding different colors / materials brings greater appreciation for each element. In our case, the uniformity of the cream-white cabinet fronts, fillers and panels provided a counterpoint to the hickory floor. The “cathedral” grain pattern of the Baltic birch cabinets are revealed in select moments , either in the three open (i.e. door-less) cabinets, or in the cabinet box interiors and drawer boxes. I’ve found the strongest results comes through creating a color and material logic that’s applied consistently.
Invite peak-a-boo moments.
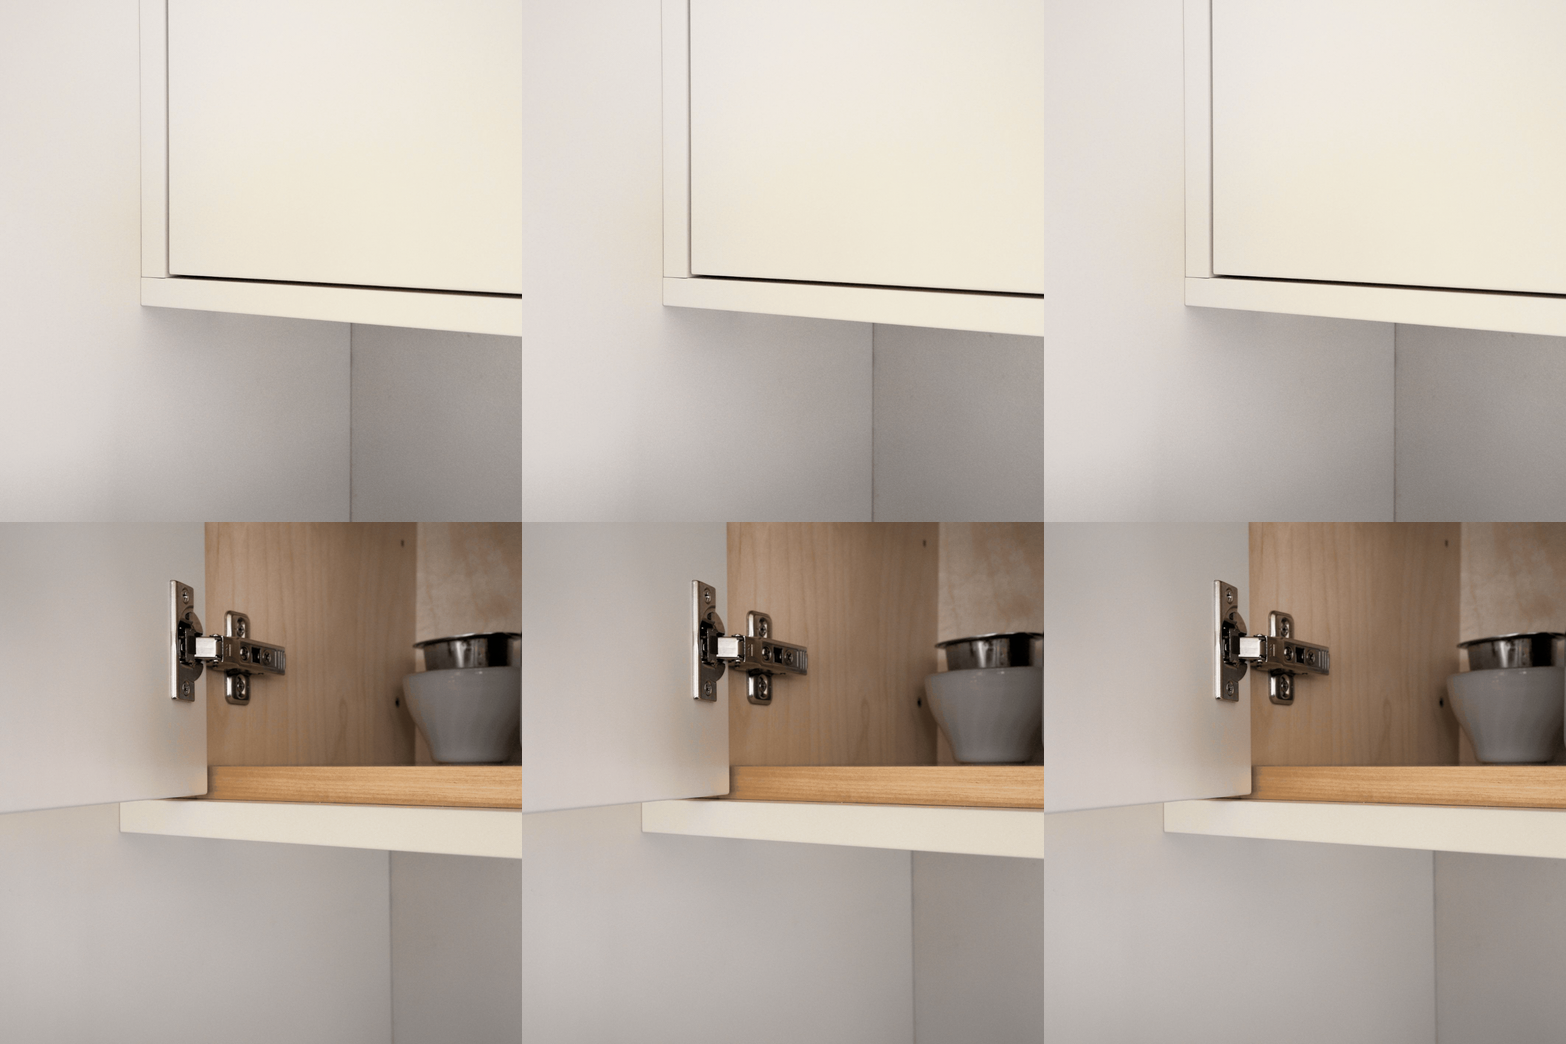
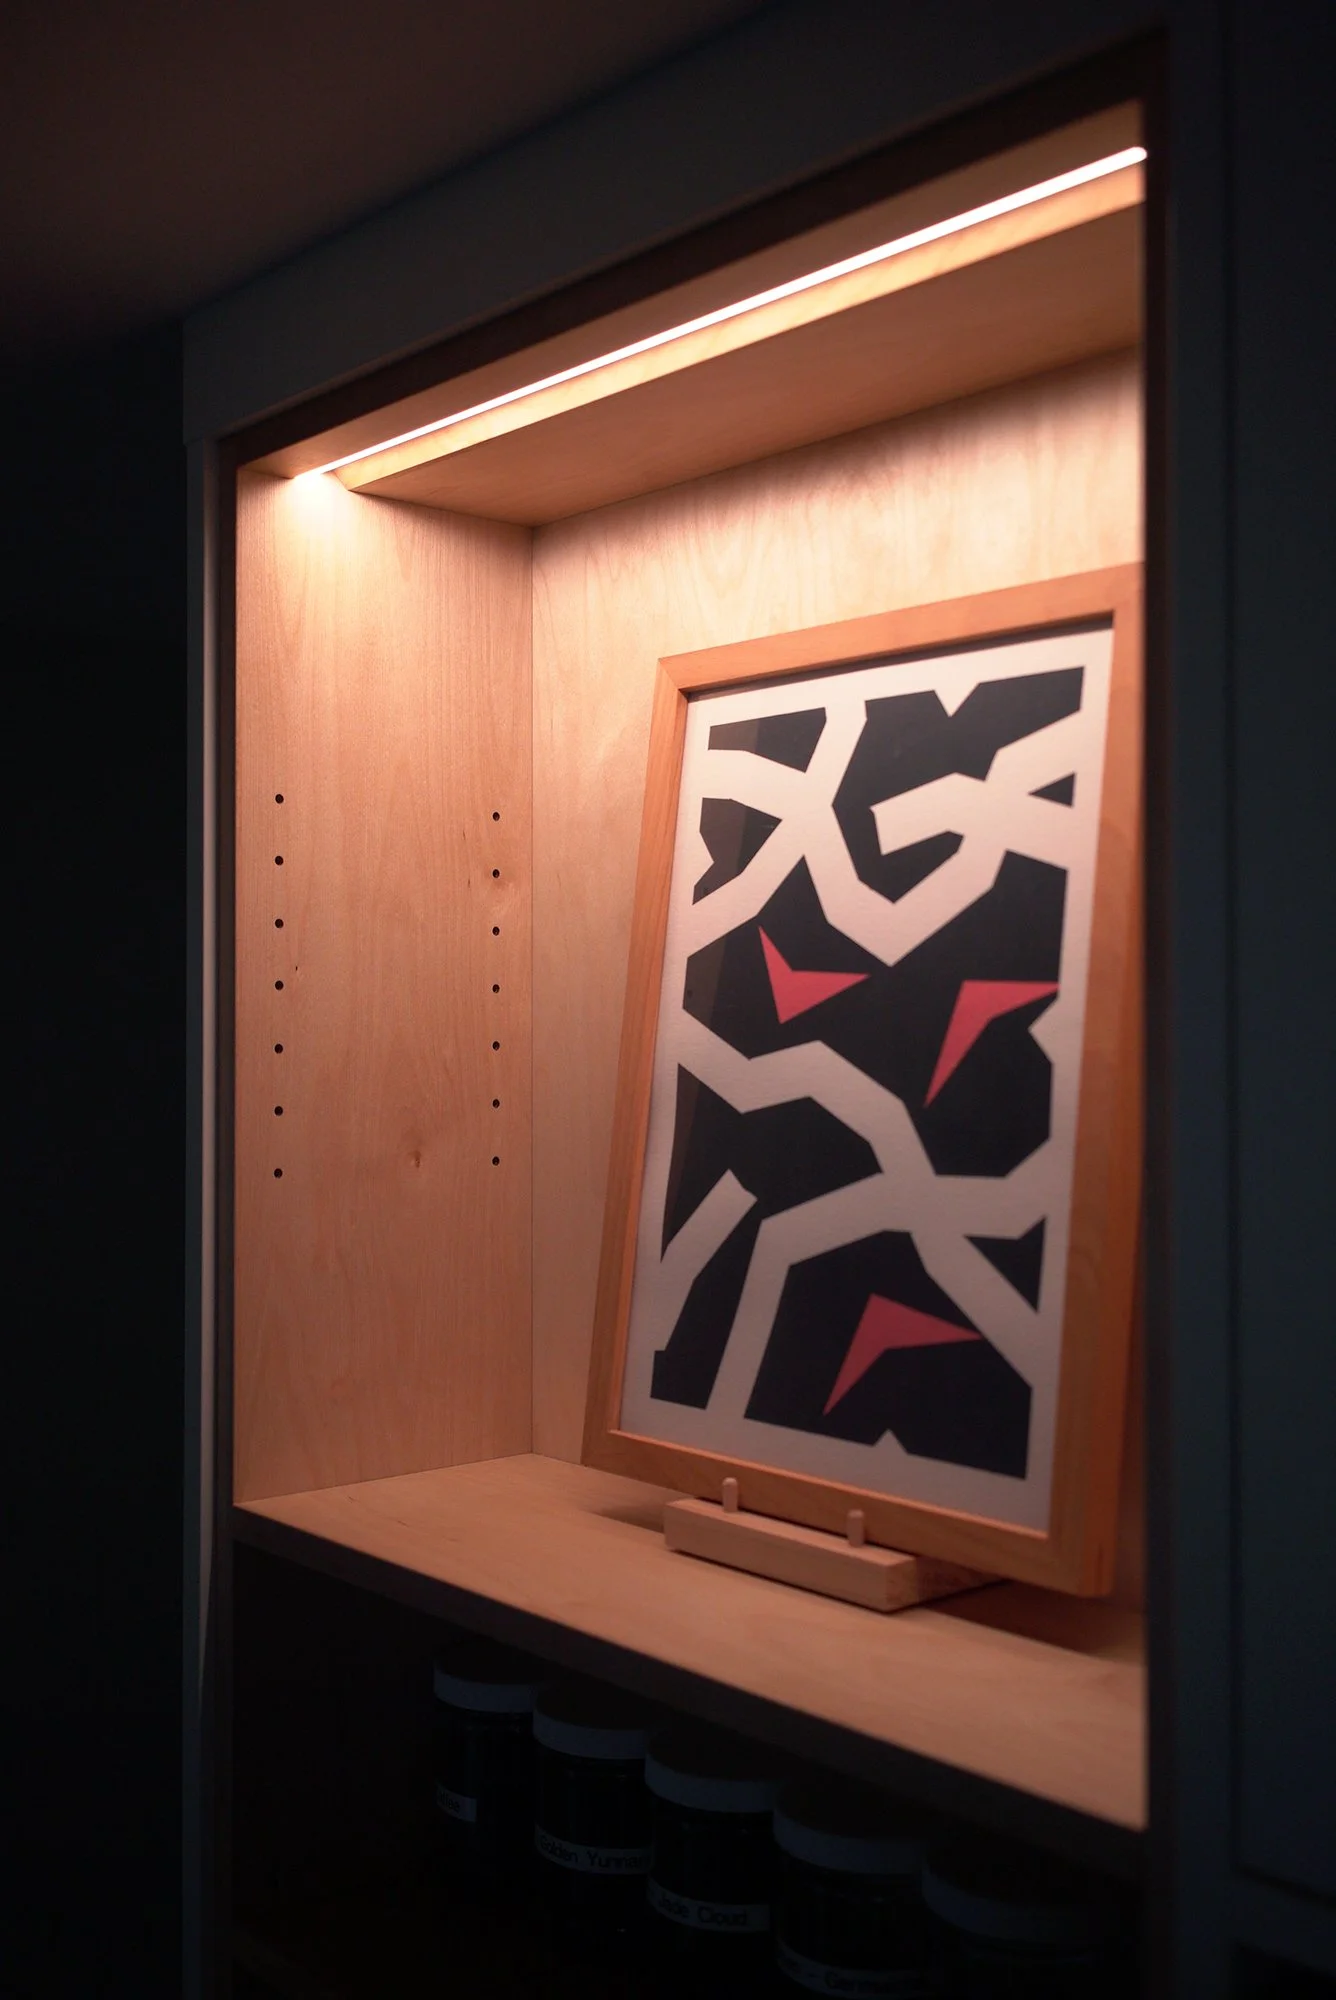
For visual interest, we incorporated open (i.e. door-less) cabinets into our design. Consider slightly recessing these open cabinets from the primary plane so the choice seems deliberate. In our case, we incorporated a 3/8” recess for the open cabinets.
Faux-inset is your friend.
Inset cabinets are appealing given their single-surface look, but can require on-going adjustment. Whereas, if you install overlay doors and drawer fronts to be in-line with the surrounding fillers, finished ends, finished bottoms and related pieces, you have an easier to maintain, single surface look similar to that of inset without the hassle.
Storage diversification is key.
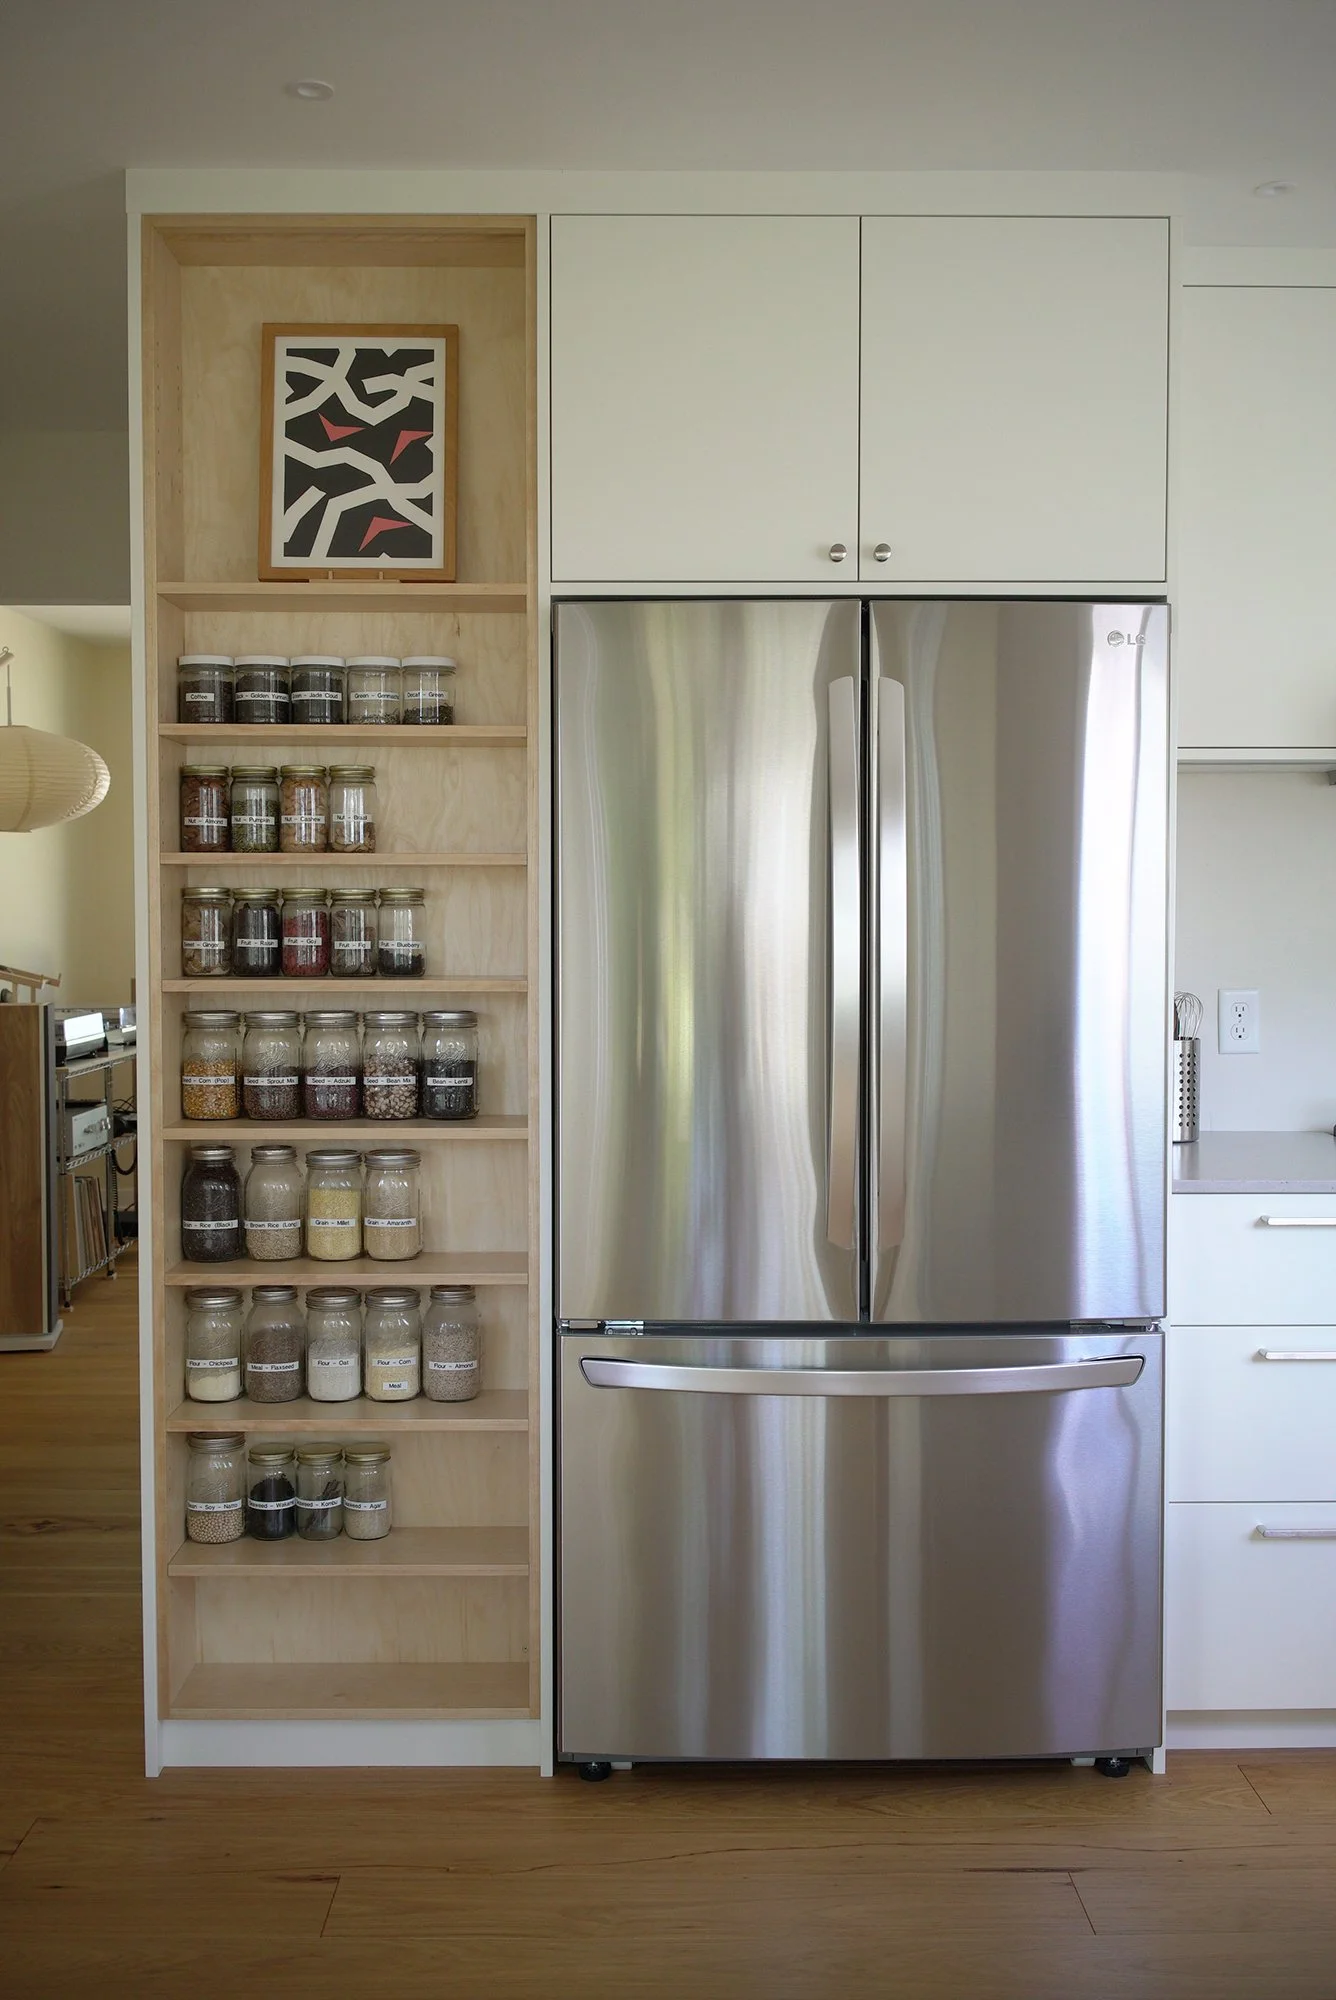
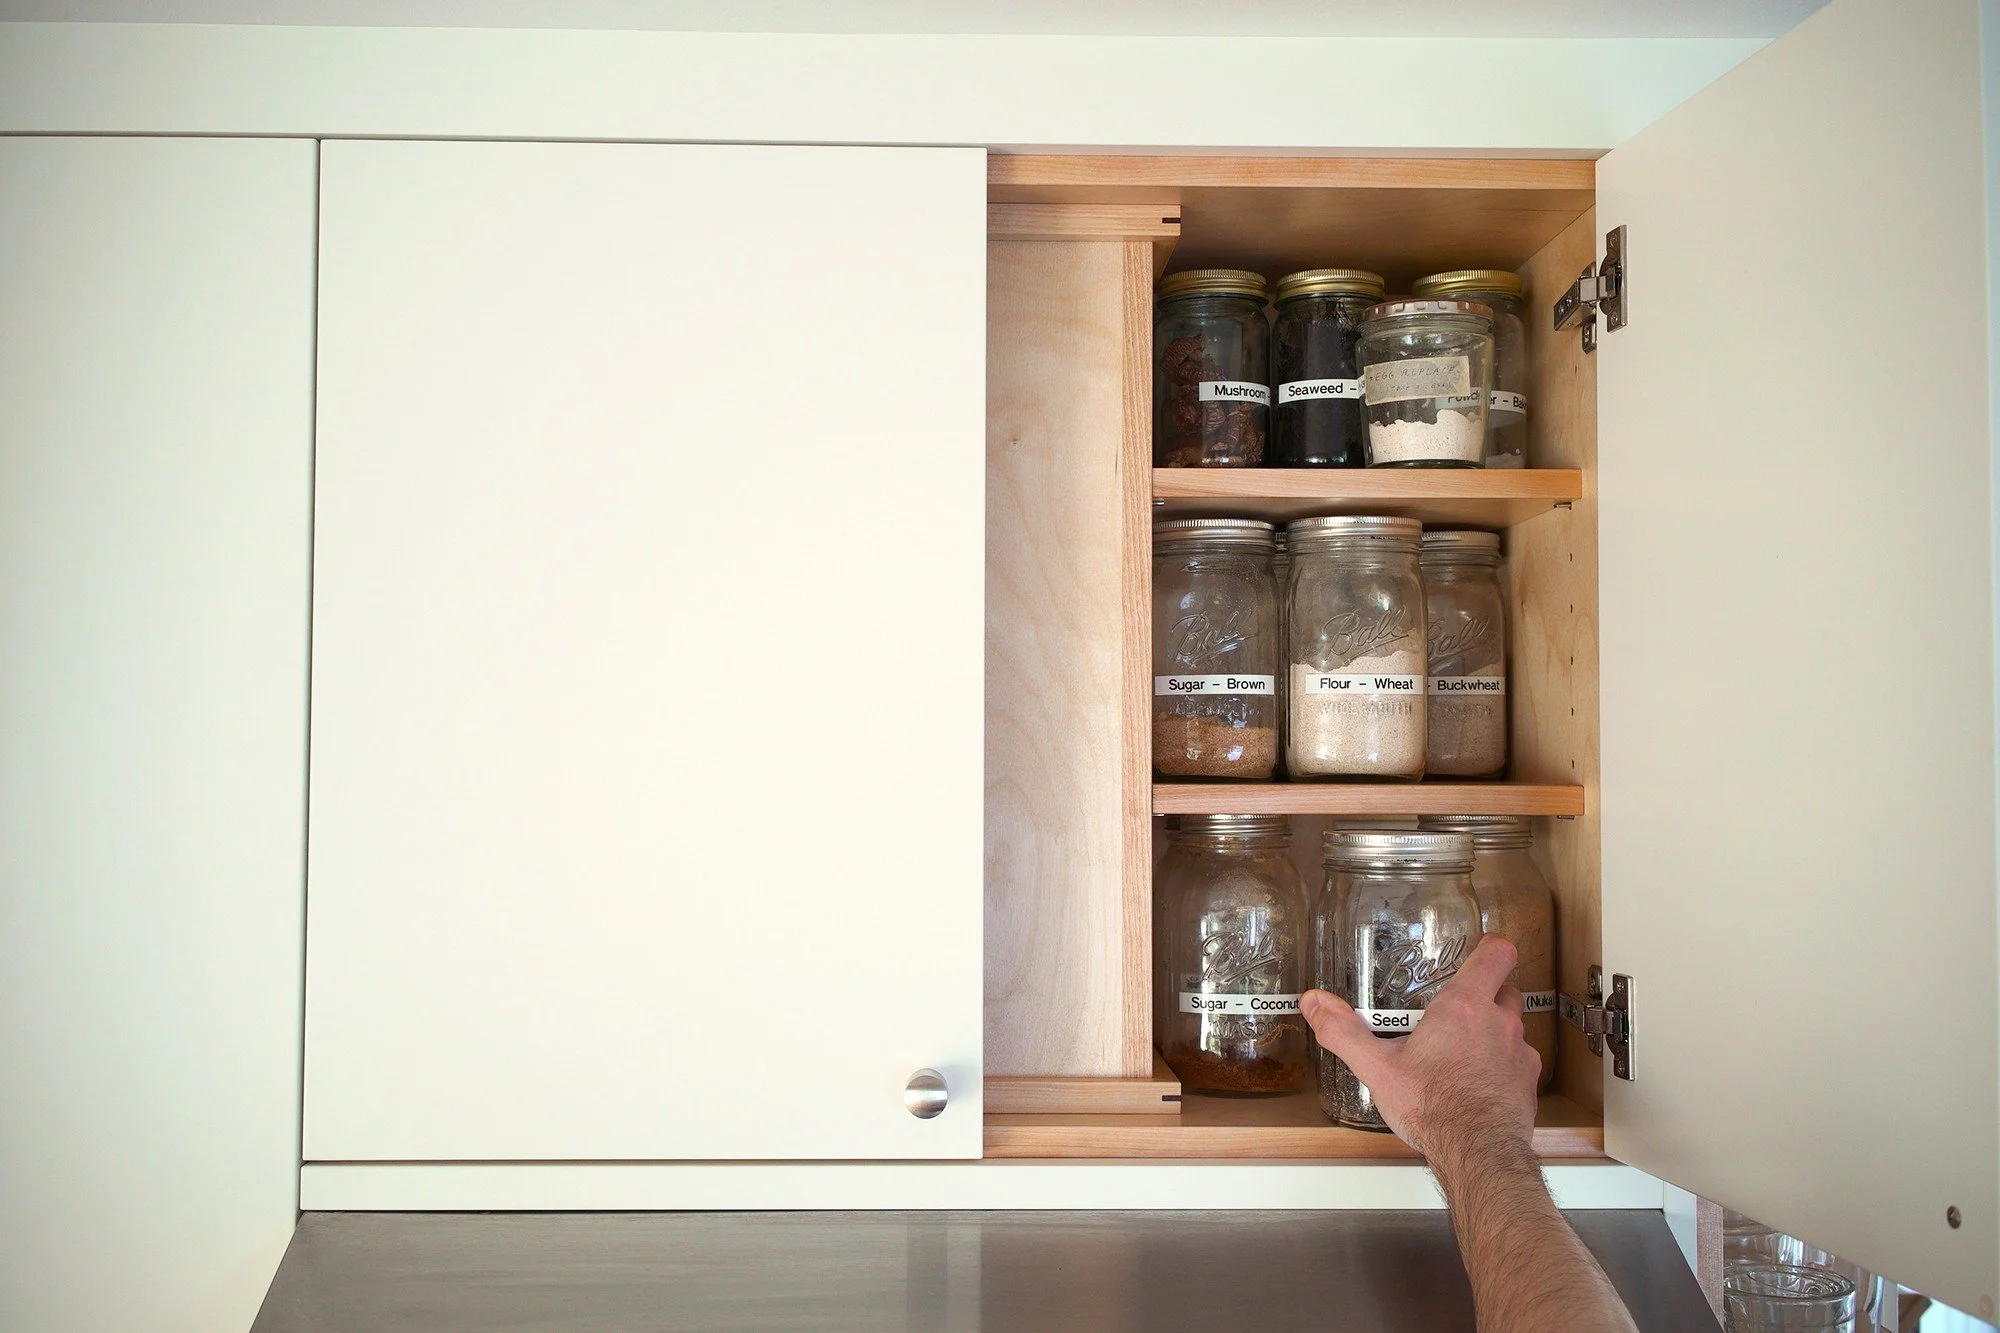
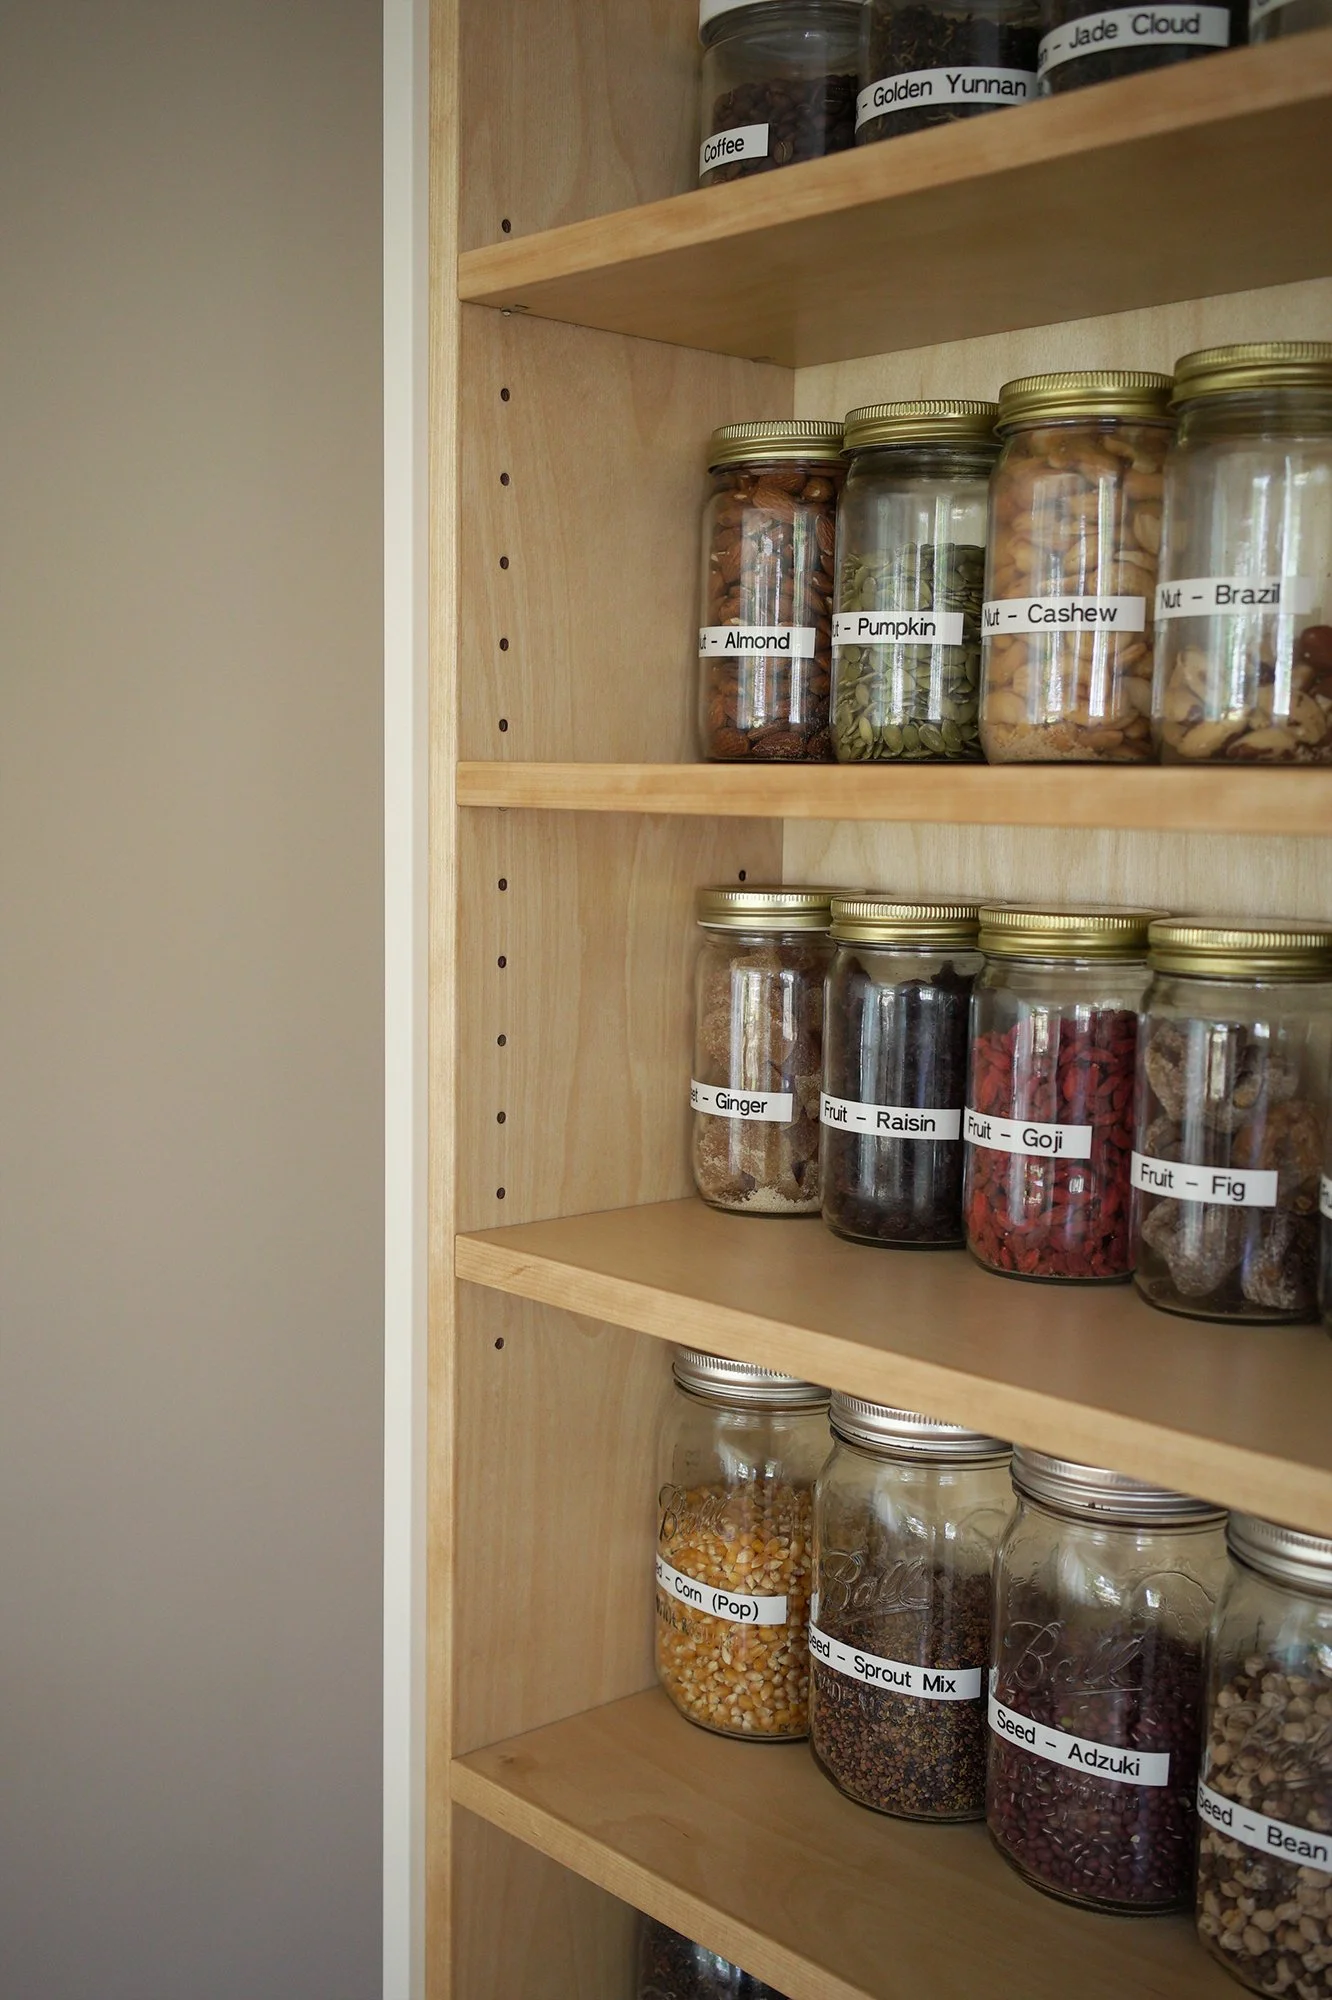
Kitchen items have a large size variance, which means cabinets should be designed for what will provide easy access to each of these items. For instance, to avoid jars getting lost in a deep cabinet, we designed a tall open shelving unit to hold them (left photo), while also accommodating for the footprint of an existing chimney. Taking stock of what you have and deciding on the ideal storage format before you start building will lead to an easier, more enjoyable experience for years to come.
Invest in excellent quality hardware.
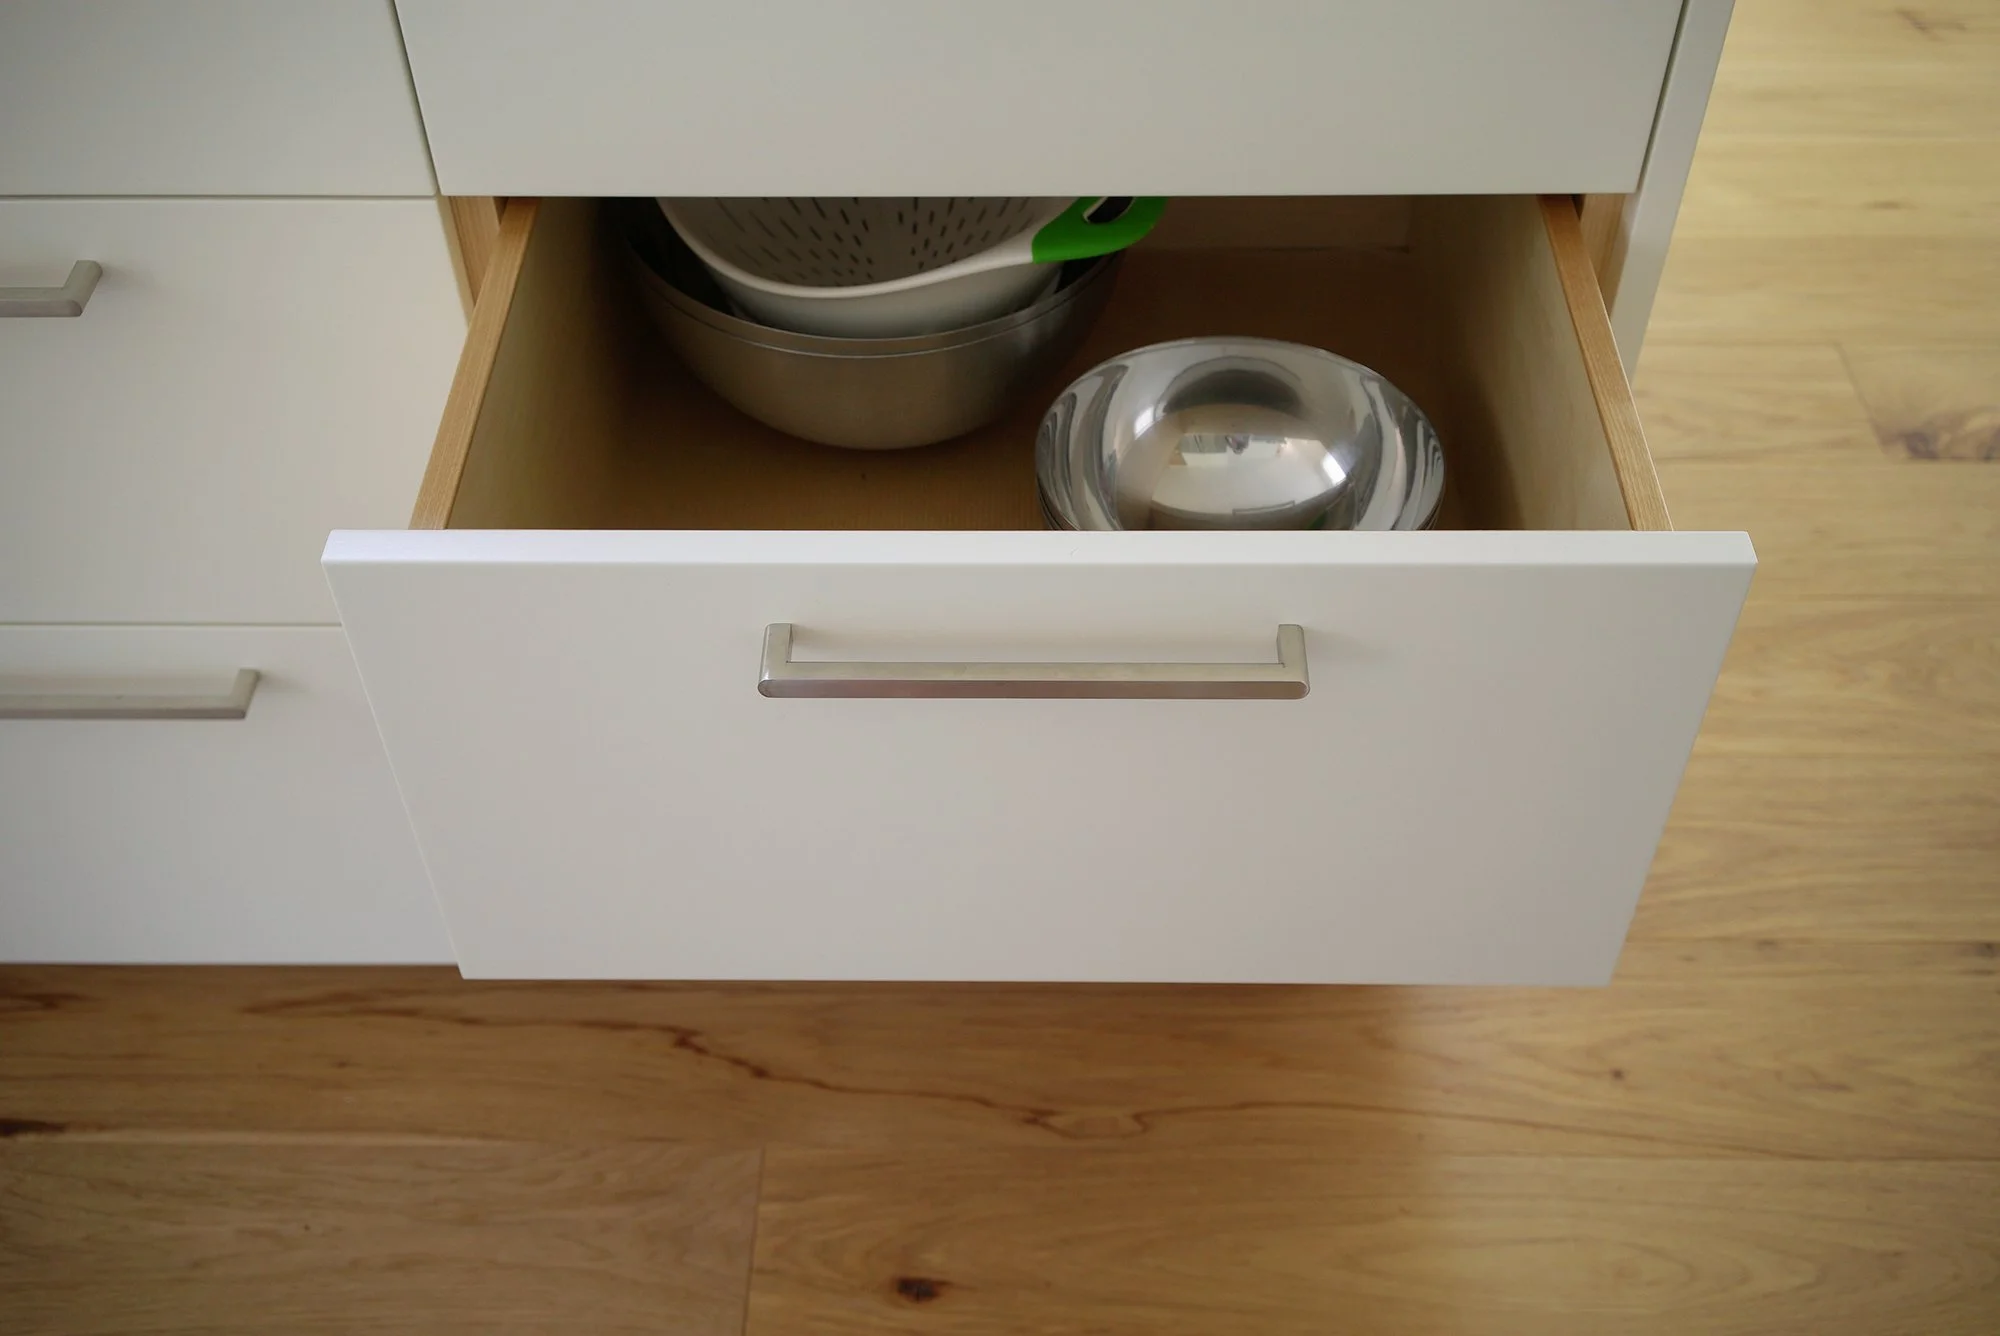
The tactile experience of opening doors and drawers matters. All the surfaces you touch become a momentary extension of you. Pulls should feel good in the hand and be easy to hold on to, even with one finger. Full-extension, undermount drawer slides provide smooth, but out-of-sight operation.
Think as big as possible for the sink + countertops.
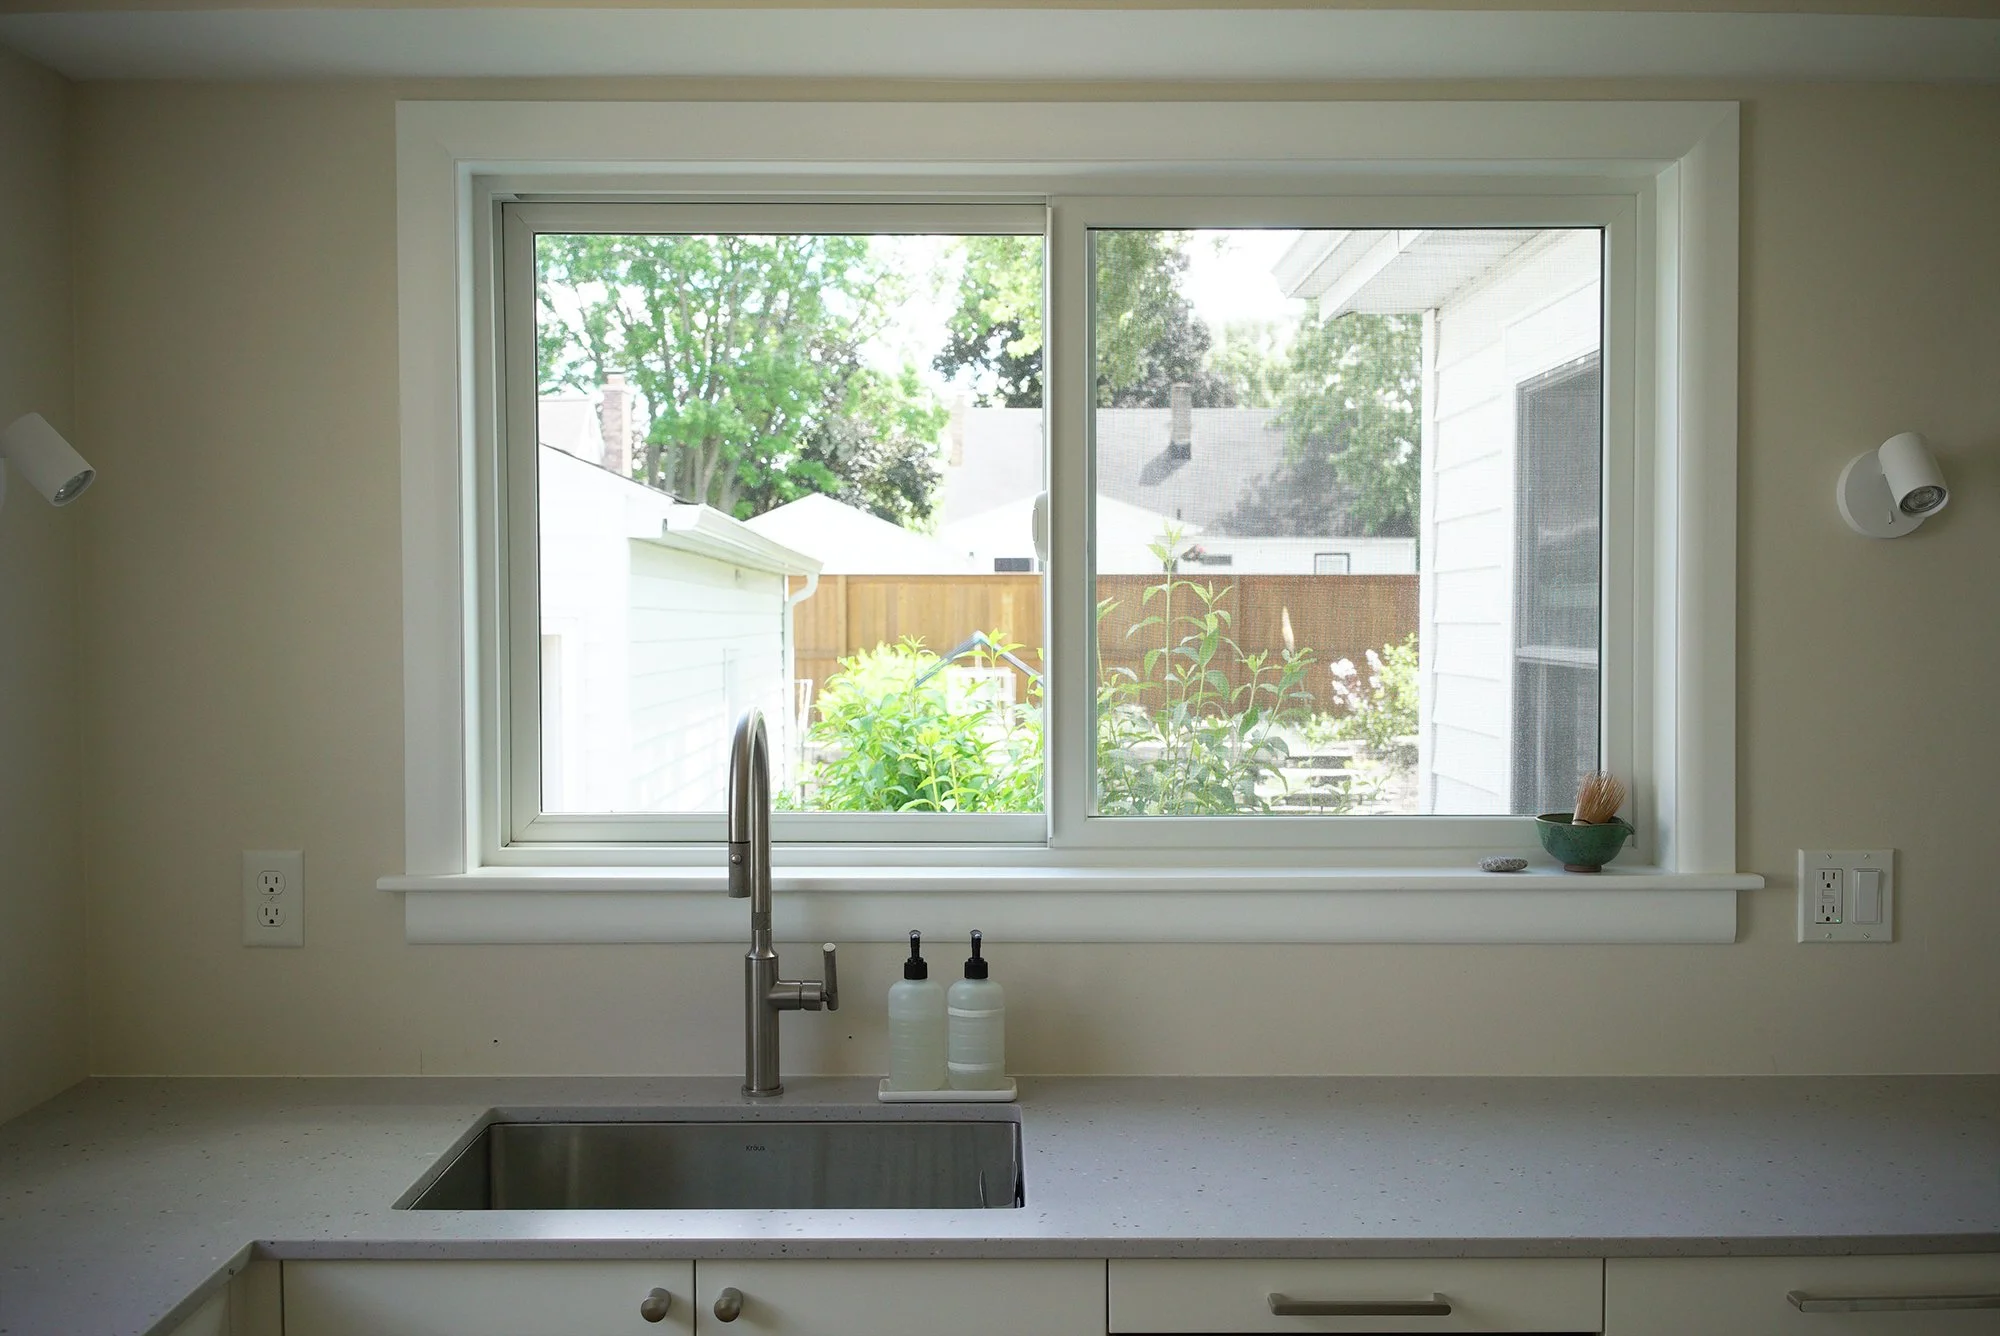
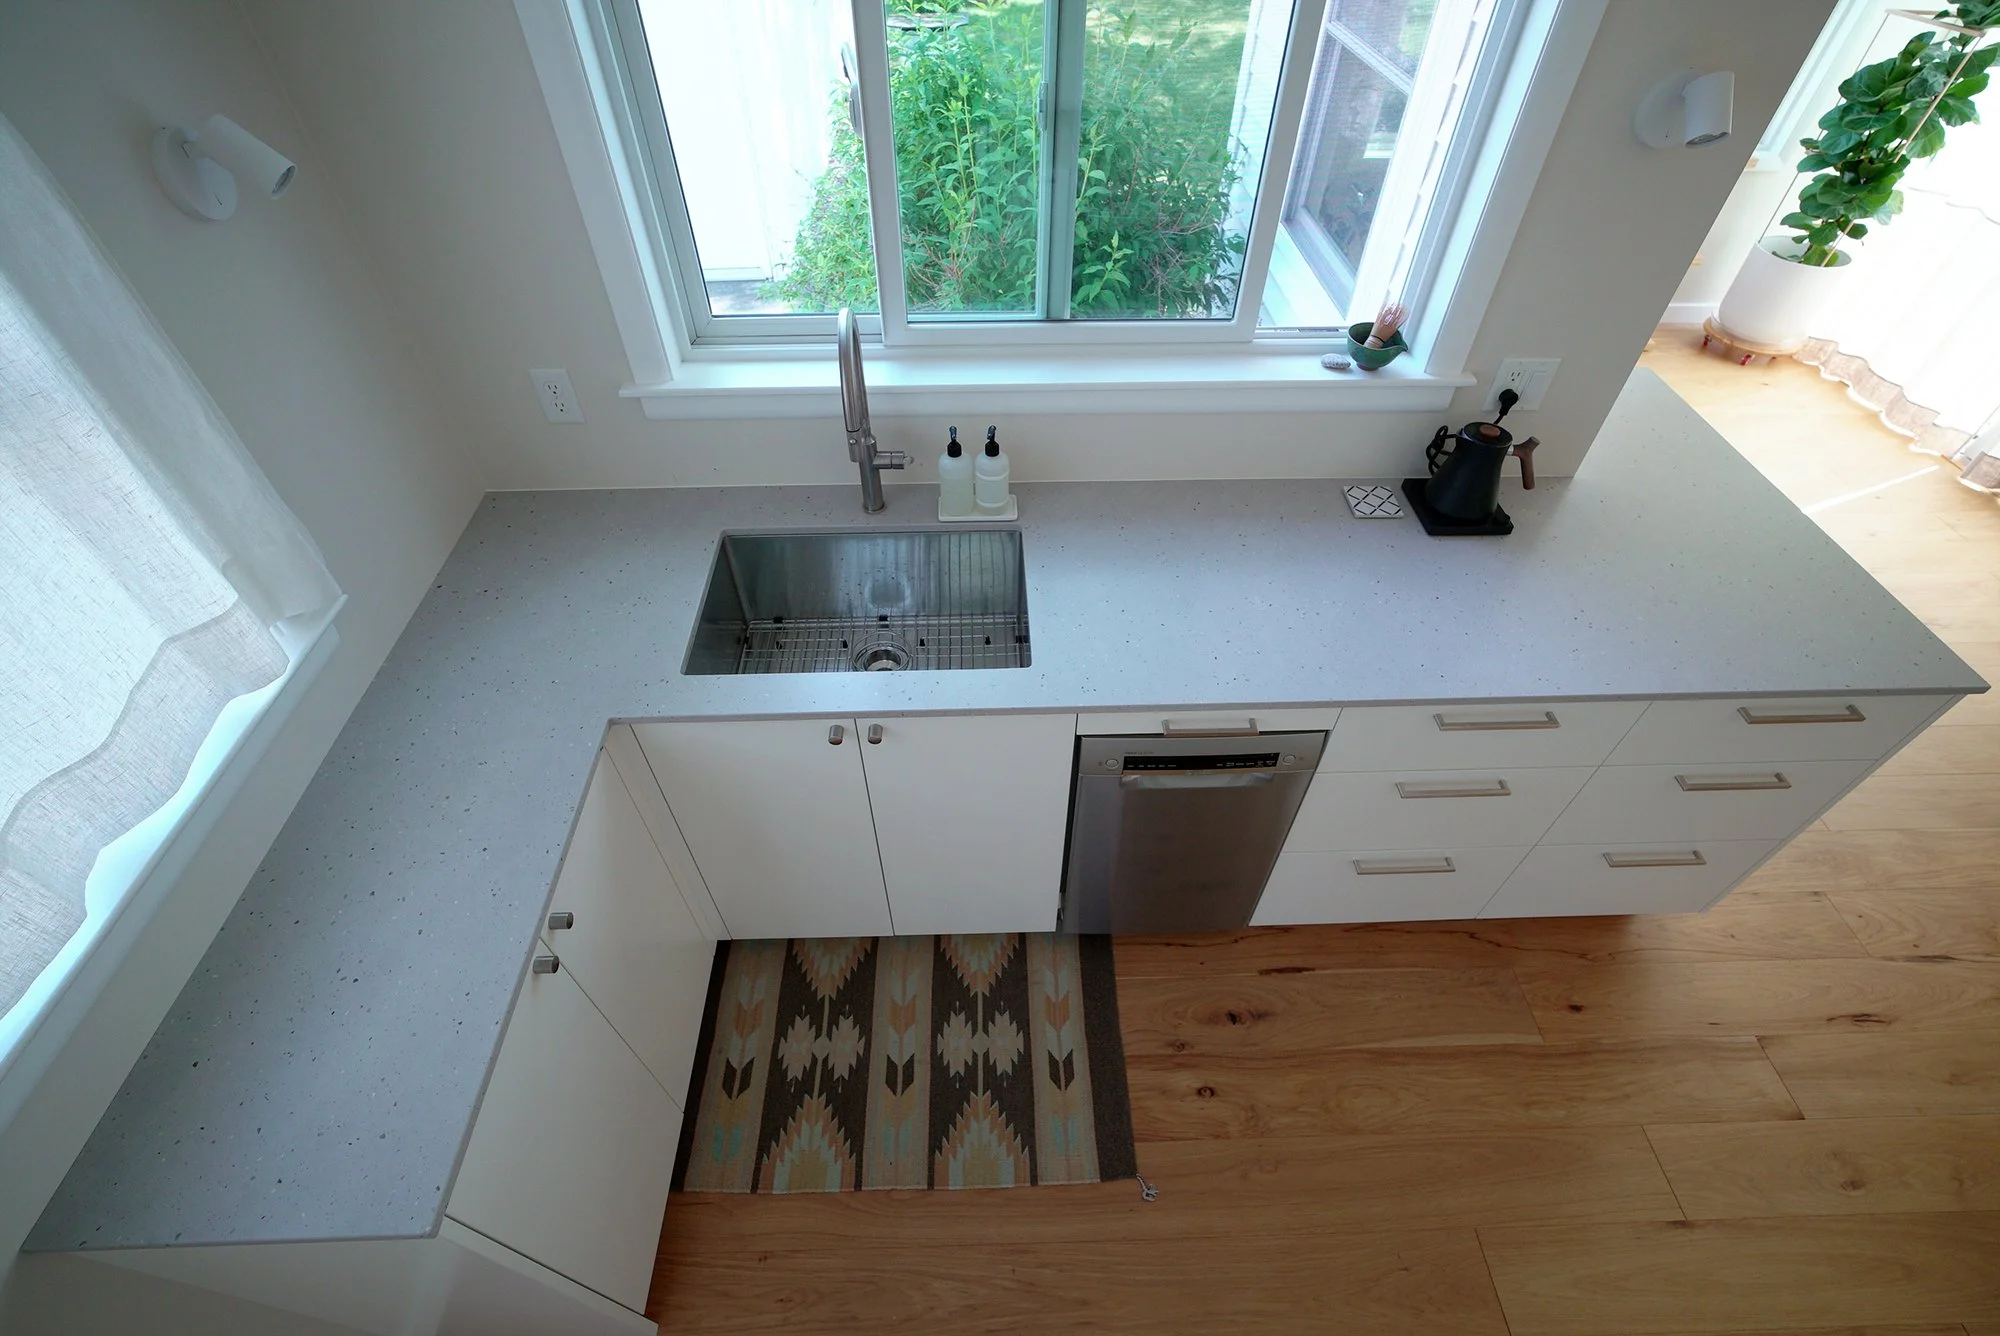
A personal pet peeve is trying to wash a big pot in a small sink. It’s bumping around the sink. The water’s splashing everywhere. Get the biggest, preferably undermount sink you can comfortably fit. It also seems like no matter the countertop surface area you get, it will get used or filled. Consider how you might maximize your total countertop area. While we have a small kitchen, we were still able to design for a 18”x26” sink with 26” deep countertops.
Let light in, don’t block it out.
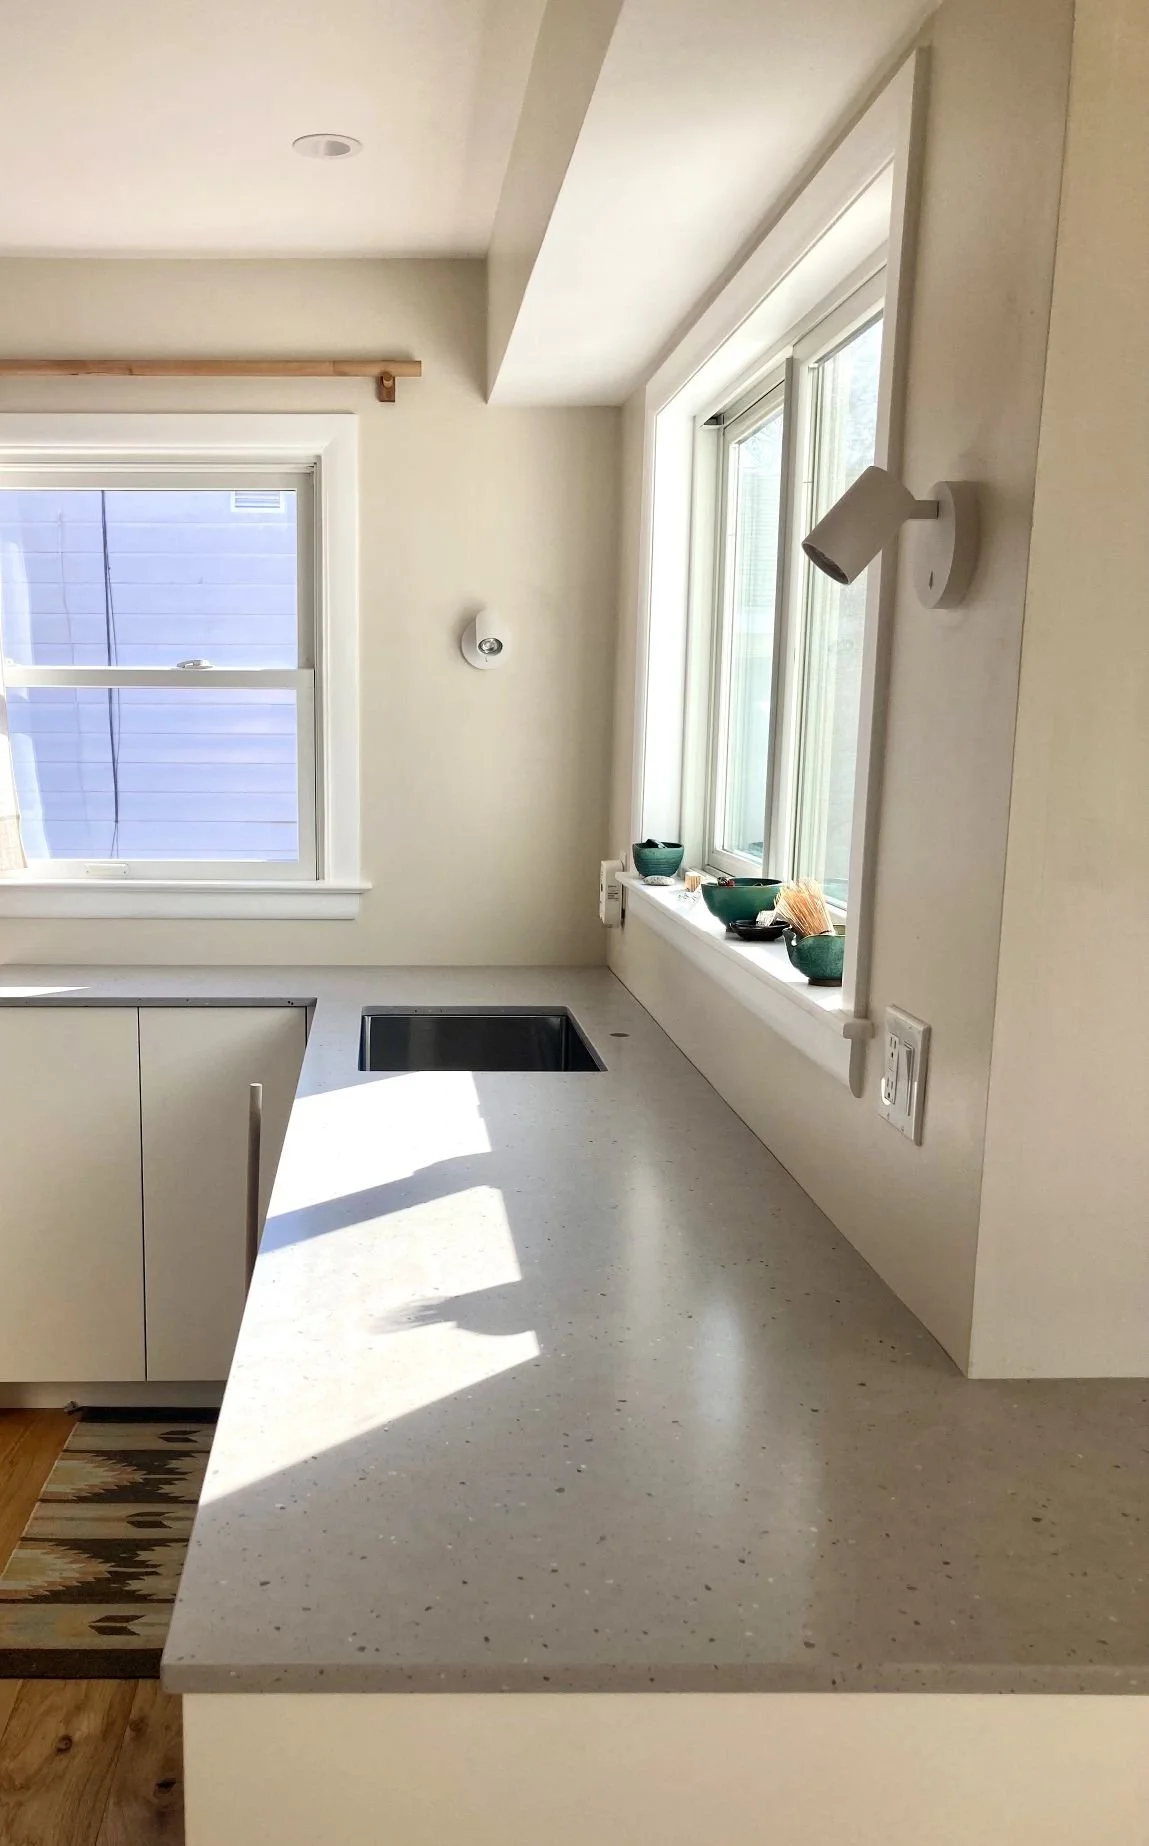
Poor lighting will always be the limiting factor to any space. Natural light is a free source of light that can enhance a room. A window at your main counter area is a worthwhile investment. There was significant time, planning and hard work that went into bringing multiple sources of natural light to take advantage of our south-facing kitchen. That journey can be seen here.
A note that if you install upper cabinets directly next to a window, it will create a tunnel of light and, the surrounding areas will receive little or no natural light. If you absolutely need the space, consider partially open or floating shelves.
Think of lighting as layers.
A trip to Japan a few years ago reminded me how important layers of light are to making a space feel more inviting. A specific layer of light should be matched to the application. Under-cabinet lighting can be used to illuminate your worksurface while being more effective than solely relying on high-lumen ceiling lights. High CRI LED light strips (right photo) integrated into the bottom of the cabinet will blend function with form and illuminate countertops.
Lighting can also act as an accent.
Fully integrated in-cabinet LED lights (left photo), can act as an aesthetic highlighter. Preferably, all in- and under-cabinet lights are hardwired to a dimmer light switch so brightness can be customized.